FloatPac RainPac Instrukcja instalacji - Strona 3
Przeglądaj online lub pobierz pdf Instrukcja instalacji dla Podgrzewacz wody FloatPac RainPac. FloatPac RainPac 16 stron. Under house and decking flexible rainwater harvesting bladder tanks
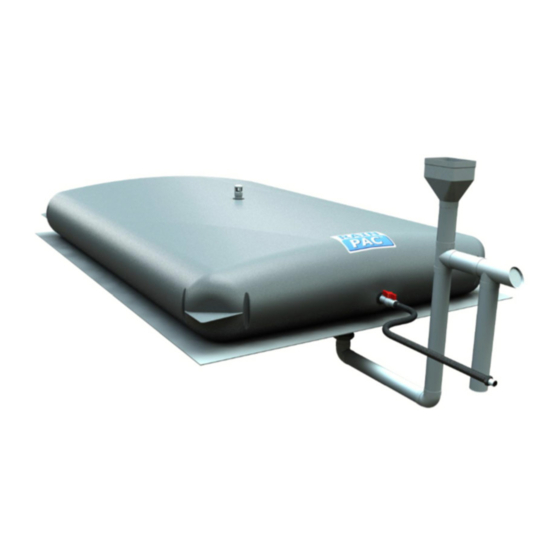
Congratulations on your purchase of a RainPac
following instructions are very important and will help ensure that the bladder gives you years of trouble free service.
SUPPLIED COMPONENTS:
TM
Carefully open your RainPac
box – do not use a knife to cut the box open as it could cut into the RainPac
fittings are storm water rated):
·
1 x 100mm threaded poly socket
·
1 x 100mm pipe adaptor
·
1 x 100mm-90mm bush type adapter
·
1 x 90mm PVC female/female elbows (90 deg)
·
2 x 90mm PVC male/female elbow (90 deg)
·
1 x Leaf Eater Ultra Rain Head
·
1 x 90mm Tank Overflow Flap Valve Mozzie Stoppa
·
2 x 90mm PVC tee
·
1 x 1 metre x 90mm PVC pipe
NOTE: There is no reference to the breather setup in this installation guide as nothing needs to be done to the existing system already on the tank.
Please contact FloatPac on 1300 306 000 or +61 (0) 3 9548 4700 if any of the above parts are missing. Please note that this is designed as a starter kit and
you may require additional fittings, depending on your site and install requirements. The licensed plumber will be able to advise the cost of additional
parts, and what you require to have your RainPac
TM
under house rainwater bladder for the collection and harvesting of precious rainwater/roof water. The
TM
system running at an optimal level.
TM
bladder. In the box are the following (all
·
1 x pipe cement kit
·
1 x 32mm ball valve for outlets
·
1 x 1 metre x 32mm flexible outlet hose with male BSP threads
(black)
·
1 x 12mm x 10M teflon tape
·
1 x 50mm vent cowl breather
·
1 x 50mm pipe adaptor
·
1 x 50mm - 40mm bush adaptor
P a g e
3 | 15