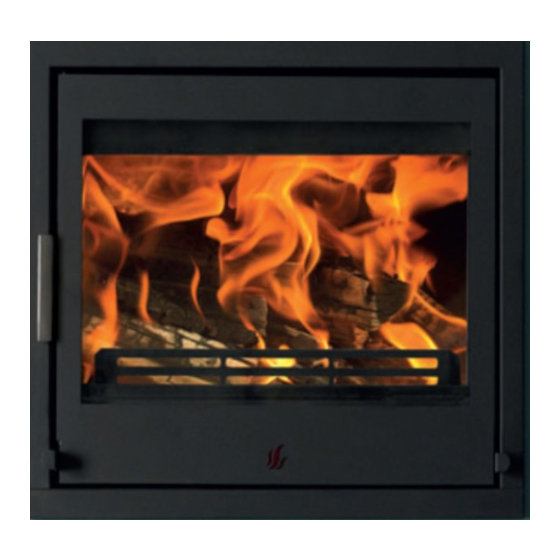
ACR STOVES Tenbury Podręcznik techniczny - Strona 8
Przeglądaj online lub pobierz pdf Podręcznik techniczny dla Piec na drewno ACR STOVES Tenbury. ACR STOVES Tenbury 17 stron. Multifuel stove

Installation of the unit
The appliance is supplied pre-
assembled with the flue spigot in the
top exit position and the Smoke Exempt
stop in place.
The Smoke Exempt stop must not be
removed unless the appliance is
installed in a non-smoke exempt area
and this action should only be
undertaken by a competent person.
To remove the smoke exempt stop,
remove the M8 smoke exempt bolt from
the front of the secondary air slider.
• This appliance cannot be installed
with a rear flue option.
1
Remove the trim by pulling it towards
the front of the appliance.
2
Remove the vermiculite baffle by
lifting and rotating through the
combustion chamber.
Always ensure that the ash draw is fully located before operation of
Using your appliance for the
first time
• To allow the appliance to bed in, and
fixing glues and paint to fully cure,
only fire the appliance using kindling
and just get hot for at least three fires.
• Before lighting the next small fire
please allow the appliance to return
back to room temperature.
• During these first small fires you may
experience a haze and unpleasant
smell as the paint cures, do not touch
the paint and keep the room well
ventilated.
Operating your stove
the appliance
3
Remove the 4 x 10mm bolts located
above the baffle.
4
Remove the 2 x 10mm bolts located
on the left and right half way up
between the outer convection box
and the inner combustion chamber.
Seperate the outer box from the inner
5
chamber and remove the remaining 2
x 10mm bolts that hold the flue collar
in place.
6
Slide the outer box into the prepared
opening and affix, connect the flue
adaptor and liner to the flue collar,
screw and seal using an appropriate
sealant.
7
Reconnect the flue collar using the 2
x 10mm bolts, if fitting with a 4 sided
trim please fit the trim at this time
before the combustion chamber is
reinstalled.
8
Slide the combustion chamber back
into place and replace the 6 x 10mm
screws, replace the baffle and install
the trim if not already in place.
Please note that during the first firing,
we recommend a small fire is lit and
that you slowly increase the
temperature to enable the various
parts to expand normally.
You may also experience fumes and a
haze being given off by the stove during
the first firing and possibly for the next
couple of firings as the paint cures. This
is normal but please ensure that the
room is well ventilated during this
period.
The appliance should not be operated in
