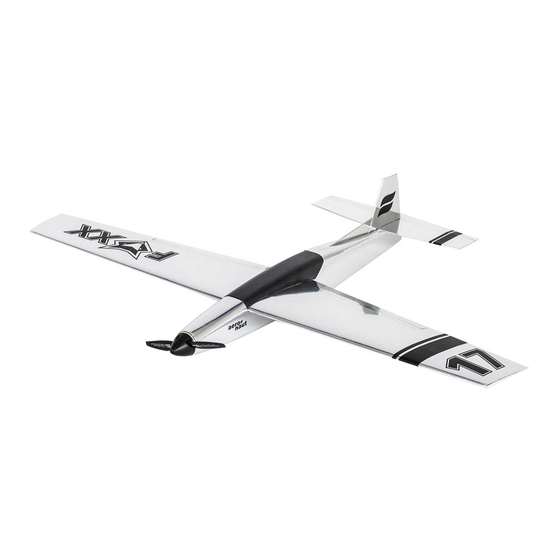
aero-naut Foxx Podręcznik - Strona 17
Przeglądaj online lub pobierz pdf Podręcznik dla Zabawka aero-naut Foxx. aero-naut Foxx 20 stron. Pylon racer

Finishing
Give the whole model a final sanding and cover it with the covering material of your choice. Use bright and contrasting colours on top and bottom of
wing. This makes it easier to identify the model in the air.
Check that contact surface for tailplane on fuselage is absolutely even. Position wing and tailplane on fuselage and make sure they are parallel.
Remove covering film from contact surface of tailplane and glue tailplane in place.
Roughly cut contol wires R 23 and F 22 for elevator and ailerons, respectively, to length and make Z-bends on one end of wires. From rear end of
fuselage insert elevator control wire R 23 through snake inner R 19 and into connector R 25. Connect elevator to control wire and attach to tailplane
with tape (top and bottom!). Now apply epoxy to snake inner R 19 and secure in slot of former R 9. Attach ailerons with tape (top and bottom!).
Insert Z-bends of control wires into servo horns, cut wires to length and bend the ends over. Attach wires to control horns and secure with snap links
F 23.
Open up openings for cooling air in nose of fuselage. Behind canopy cut an opening for the exit of cooling air in top or bottom sheeting. Either glue
canopy to wing permanently (make hole for wing screw!) or attach to fuselage with tape before each flight.
Install motor, RC equipment and battery and adjust centre of gravity by moving components back and forth. Secure with hook and loop tape. The
centre of gravity location is 48 - 50 mm behind the leading edge, marked on the fuselage side. The wing incidence is 0°. Control throws for elevator
are +/- 5 mm, for ailerons +/- 4 mm.
Have fun with your new FOXX!
48 - 50 mm
