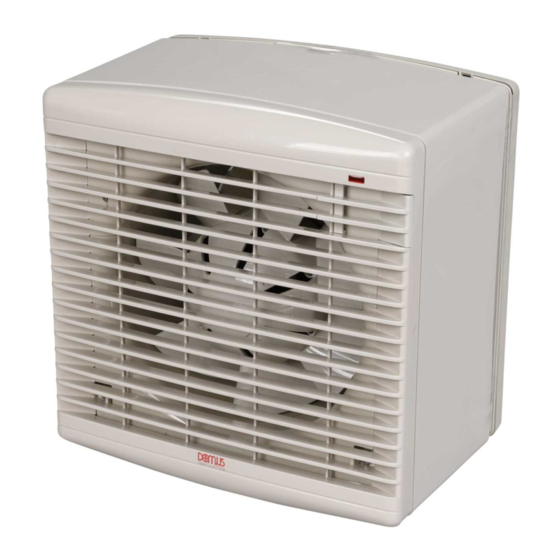
Domus Ventilation DX12WW Instrukcja instalacji i konserwacji - Strona 7
Przeglądaj online lub pobierz pdf Instrukcja instalacji i konserwacji dla Wentylator Domus Ventilation DX12WW. Domus Ventilation DX12WW 8 stron. Window fan kit 50hz/60hz, supply / extract units

Installation and Maintenance
DX Window Fan Kit 50Hz/60Hz
5.5 Fitting Remote Controller DX-CON or
5.5 Fitting Remote Controller DX-CON or
Remote sensors (optional)
Remote sensors (optional)
The DX-CON Multi Fan Control provides supply or extract, variable
The DX-CON Multi Fan Control provides supply or extract, variable
speed and automatic or manual switching of several fans if desired, (see
speed and automatic or manual switching of several fans if desired, (see
note below). The control is best mounted approx 1.5m above the floor.
note below). The control is best mounted approx 1.5m above the floor.
Remote Sensors are available for Humidity, Air Quality and Passive Infra
Remote Sensors are available for Humidity, Air Quality and Passive Infra
Red control. Remote Sensors should be positioned at least 1.5m above
Red control. Remote Sensors should be positioned at least 1.5m above
the floor and away from direct heat sources e.g. radiators.
the floor and away from direct heat sources e.g. radiators.
Note:
Note:
Up to 5 fans (size 6 / 9 inch) can be controlled by one DX-CON.
Up to 5 fans (size 6 / 9 inch) can be controlled by one DX-CON.
Up to 2 fans (size 12 inch) can be controlled by one DX-CON.
Up to 2 fans (size 12 inch) can be controlled by one DX-CON.
Do not mix different fan sizes on the same controller.
Do not mix different fan sizes on the same controller.
2
2
Push out backplate box cable entry using a screwdriver.
Push out backplate box cable entry using a screwdriver.
4
4
Fix backplate box to the prepared wall.
Fix backplate box to the prepared wall.
6
6
Connect the end of the cable into the control block.
Connect the end of the cable into the control block.
LAB1350R May 2018
1
1
Lift up panel and remove two screws to dismantle unit.
Lift up panel and remove two screws to dismantle unit.
3
3
1.5m
1.5m
Spot through backplate box and drill and plug the wall.
Spot through backplate box and drill and plug the wall.
5
5
Feed approx. 200mm of supply cable into the box
Feed approx. 200mm of supply cable into the box
7
7
Fit the control into the backplate box and secure.
Fit the control into the backplate box and secure.
Test the installation.
Test the installation.
V E N T I L A T I O N
200mm
200mm
Page 7
