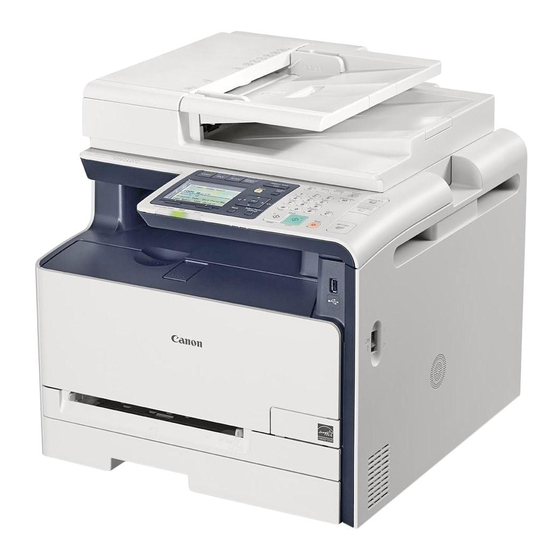
Canon Color imageCLASS MF8280Cw Podręcznik dla początkujących - Strona 19
Przeglądaj online lub pobierz pdf Podręcznik dla początkujących dla Wszystko w jednej drukarce Canon Color imageCLASS MF8280Cw. Canon Color imageCLASS MF8280Cw 37 stron. Wireless lan
Również dla Canon Color imageCLASS MF8280Cw: Podręcznik ustawień (25 strony), Skrócona instrukcja obsługi (4 strony), Podręcznik ustawień (20 strony), Pierwsze kroki (36 strony)

1
USB Connection
Install the Software.
Install the MF Drivers and the MF Toolbox. Make sure that the machine is turned ON, and log on to Windows as a
user with administrative privileges. Shut down all applications that are running. See MF Driver Installation Guide for
details about installation.
Do not connect the USB cable yet.
Connect the USB cable after installing the MF Drivers and the MF Toolbox.
If you already connected the USB cable:
Windows 7/8: Disconnect the USB cable from the computer, and then
proceed to step
.
Windows XP/Vista: If the dialog box on the right appears, disconnect the USB
cable from the computer*, click [Cancel], and then proceed to step
*
If the USB cable is disconnected and the dialog box disappears, proceed to step
User Software CD-ROM
•
Printer, fax, scanner drivers and MF Toolbox
will be installed.
•
Select [Custom Installation] to install Presto!
PageManager and the e-Manual.
If the screen is not correctly displayed:
•
Windows XP
[Start] Menu → [Run] → enter
→ [OK]
1
2
Preface
Installing the Machine
Windows
Click!
◀
[D:\MInst.exe]*
3
Connecting to a Computer and Installing the Drivers
Connecting to the Computer
.
For Windows XP/Vista
.
•
Windows Vista/7
[Start] Menu → [Search programs and files]
(or [Start Search]) → enter
press the [Enter] key
Windows 8
•
Right-click the lower-left corner of the screen
→ select [Run] → enter
[D:\Minst.exe]*
*
The CD-ROM drive name is indicated as "D:" in this
manual.
Follow the instructions
on the screen to continue.
Select ✔
▲
•
Remove the CD-ROM, if necessary.
Proceed to P. 20
4
Configuring and Connecting the Fax
[D:\MInst.exe]*
→
→ [OK]
Click!
◀
19
