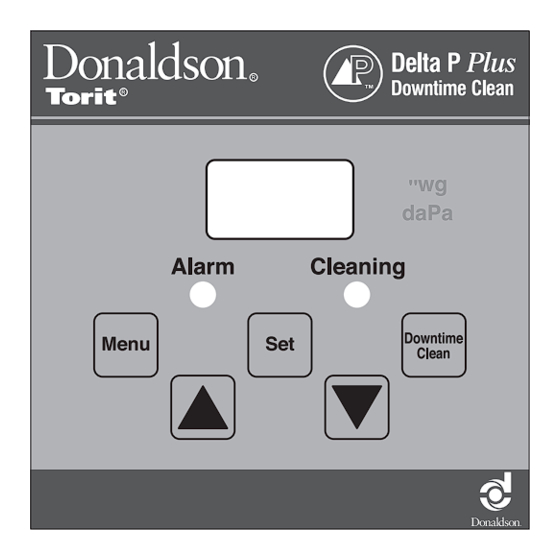
Donaldson Torit Delta P Plus Instrukcja instalacji i obsługi - Strona 5
Przeglądaj online lub pobierz pdf Instrukcja instalacji i obsługi dla Kontroler Donaldson Torit Delta P Plus. Donaldson Torit Delta P Plus 16 stron.

- 1. Table of Contents
- 2. Description
- 3. Operation
- 4. Inspection on Arrival
- 5. Electrical Wiring
- 6. Installation
- 7. Setpoint Adjustment
- 7. Quick Start Instructions
- 7. Adjustments
- 7. Password Protected Settings
- 8. Delta P Plus Control Calibration
- 9. Optional Settings
- 10. Troubleshooting
- 11. Replacement Parts
Inspection on Arrival
1. Inspect unit on delivery.
2. Report any damage to the delivery carrier.
3. Request a written inspection report from the Claims
Inspector to substantiate claim.
4. File claims with the delivery carrier.
5. Compare unit received with description of product
ordered.
6. Report incomplete shipments to the delivery carrier
and your Donaldson Torit representative.
Electrical Wiring
Electrical installation, service,
or maintenance work must
be performed by a qualified electrician and
comply with all applicable national and local
codes.
Turn power off and lock out electrical
power sources before performing service or
maintenance work.
Do not install in classified hazardous
atmospheres without an enclosure rated for
the application.
All electrical wiring and connections, including electrical
grounding, should be made in accordance with the
National Electric Code, NFPA No. 70-latest edition.
Check local ordinances for additional requirements that
apply.
The appropriate wiring schematic and electrical rating
must be used. See unit's rating plate for required voltage.
Installation
Electrical installation, service,
or maintenance work must
be performed by a qualified electrician and
comply with all applicable national and local
codes.
Turn power off and lock out electrical
power sources before performing service or
maintenance work.
Do not install in classified hazardous
atmospheres without an enclosure rated for
the application.
The Delta P Plus controller is
factory set for 115 V. To operate
at 230 V, the jumper settings on the printed
circuit board must be changed. See the
Optional Settings and Connections section for
instructions. Verify voltage selector matches
the voltage available prior to energizing the
system.
1. Choose a location that permits access to the keypad
for adjustments and observation of the pressure
drop. Preferably locate the control enclosure near
the collector, but if possible mount the control
enclosure indoors.
2. Mount the control enclosure using the proper
quantity and sized of fasteners.
Use vibration isolators in high
vibration areas.
3. Connect the output contacts to the correct contact
terminals of the pulse control timer per the supplied
electrical drawing. These connections will start/stop
the cleaning cycle.
4. Wire the auxiliary alarm circuit, if desired. This
relay output can be used to activate visual or
audible alarms provided by others. If not wired, the
alarm LED light on the control panel will be the only
indication of a fault condition
Use proper grounding and
handling procedures to prevent
permanent damage to this device. Handle the
printed circuit board by the edges only. Do not
touch the socketed E2PROM pins.
Delta P Plus Control
2
