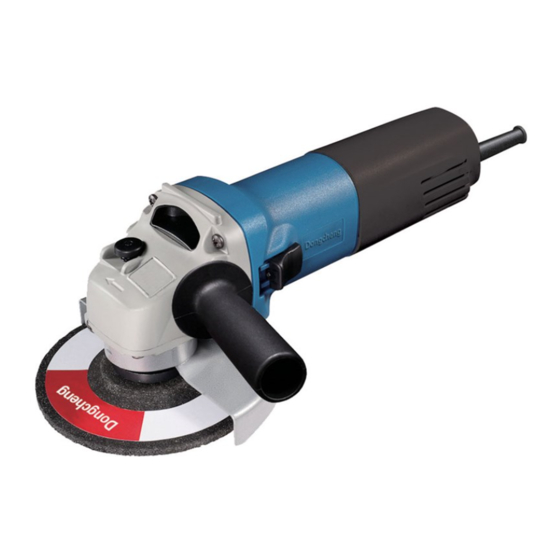
Dongcheng S1M-FF03-115 Instrukcja obsługi - Strona 4
Przeglądaj online lub pobierz pdf Instrukcja obsługi dla Szlifierka Dongcheng S1M-FF03-115. Dongcheng S1M-FF03-115 6 stron.

wheel.
11. Watch out for flying sparks. Hold the tool so that sparks fly away from you
and other persons or flammable materials.
12. Do not leave the revolving grinder unattended on the floor. Operate the tool
only when hand-held.
13. Avoid overload operation. Stop operation immediately if you notice anything
abnormal.
14. Do not push in the lock pin while the spindle is running.
15. Do not touch the workpiece immediately after operation; it may be extremely
hot and could burn your skin.
16. Do not work with materials containing asbestos.
17. To ensure the designed operational integrity of power tools, do not remove
installed covers or screws.
18. Be sure to use an earth-leakage circuit breaker (30mA), if work area is too
hot and wet or poisoned by electric dust.
SAVE THESE INSTRUCTIONS.
WARNING! MISUSE or failure to follow the safety rules stated in this
instruction manual may cause serious personal injury.
INSTRUCTIONS FOR OPERATION
Installing or Removing the Depressed Center Wheel
CAUTION:
Always be sure that the tool is switched OFF
and unplugged before installing or removing
the wheel.
Screw the inner flange onto the spindle. Press
the spindle lock firmly so that the spindle
cannot revolve, then use the lock nut wrench
to secure the inner flange. Fit the wheel on
over the inner flange and screw the outer
-5-
flange onto the spindle. (Fig.1)
To tighten the outer flange, press the spindle
lock firmly so that the spindle cannot revolve,
then use the lock nut wrench and securely
tighten clockwise. (Fig. 2)
CAUTION: There is a washer on the inner
flange, if it is lost or damaged be sure to fit a
new one before fit the inner flange onto the
spindle.
To remove the wheel, follow the installation procedures in reverse.
Mounting the Auxiliary Handle
For all work with the tool, the auxiliary handle
must be mounted.
Screw the auxiliary handle on the right or left
of the tool head. (Fig. 3)
Switch Operation
WARNING! Before plugging in the tool,
always check to see that the switch actuates
properly and returns to the "OFF" position
when the rear of the switch lever is
depressed.
To switch ON, depress the rear of the switch
lever and push it forward. Then depress the
front of the switch lever to lock it.
To switch OFF, depress the rear of the switch
-6-
