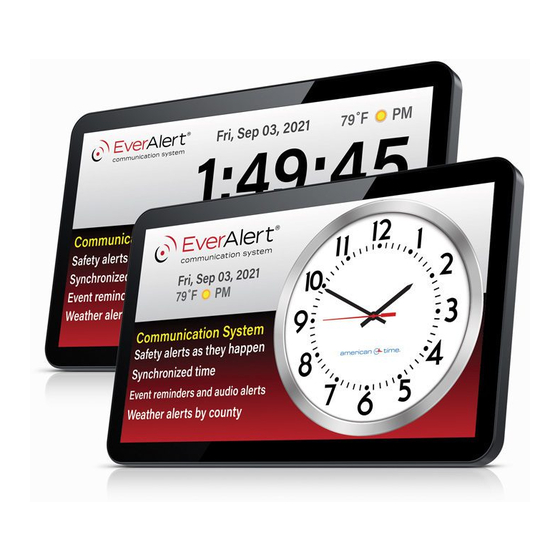
American Time EverAlert Dynamic Display Skrócona instrukcja instalacji
Przeglądaj online lub pobierz pdf Skrócona instrukcja instalacji dla Monitor American Time EverAlert Dynamic Display. American Time EverAlert Dynamic Display 2 stron.

6
Confirm Installation and Name New Device
1. On inCloud, click on Devices in the site menu, then click on Dynamic Display in the menu bar at the
top of the page. The New Device will display as shown below in the portal
2. Click on the New Device name and change the display title to a descriptive name which will allow the
device's location to be easily identified (i.e."English - Room 101"). Click Save on the bottom left.
7
Display Removal
1. Loosen the bracket thumb screws until
they can clear the wall mount bracket
2. Rotate the display away from the wall at
the bottom until the hanging brackets
are clear of the wall mount bracket.
3. Lift the display up and away from the
wall mount bracket.
8
Display Rotation
If the view is not in the desired orientation, press this sequence on the side of the display
using the volume selection buttons and it will rotate the view ().
Note: Do not perform the button-press sequence at the top of the minute.
INST-EADD Rev 6
EverAlert
.
1
2
3
Dynamic Display Quick Start Installation Guide
®
Please read this first!
If you have questions at any time during this process, please call American Time toll free at
800-328-8996
Pre-Installation
1. Verify with your IT Staff:
• Dynamic Host Configuration Protocol (DHCP) is enabled.
Note: Currently, EverAlert Dynamic Display does not support static IP address configuration.
• Ports 83, 123, and 443 are open.
• Internet Connection via Wi-Fi or Ethernet 10/100Base-T is available.
•
Verify SSID, Password & Security Type (if using Wi-Fi)
2. Choose a location that is near an AC power receptacle.
Unpack the box
•
Remove the content from the box. Save packing materials in case you need them later.
Check the contents
1. EverAlert Dynamic Display Box
i. Quick Start Guide
ii. EverAlert Dynamic Display
iii. 12vdc Power Supply (if 120VAC version)
iv. Port Cover with screws
v. Desktop Stand with thumb screw
(Note that the 12vdc Power Supply may be
removed if devices were ordered with PoE+ or
Battery Backup Kit.)
800-328-8996
american-time.com
phone:
online:
140 3rd St. So.; PO Box 707, Dassel, MN 55325-0707
mail:
.
2. Mounting Bracket Kit Box
(optional)
A. Four M4 X 6mm screws
B. Two M6 x 37mm screws
C. Two bracket thumb screws
D. Two adjustable display hanging brackets
E. One wall mount bracket
F. One power supply bracket
G. Bracket nuts
H. Two plastic anchors
800-789-1882
fax:
