Canon PIXMA MP500 Skrócona instrukcja obsługi - Strona 2
Przeglądaj online lub pobierz pdf Skrócona instrukcja obsługi dla Wszystko w jednej drukarce Canon PIXMA MP500. Canon PIXMA MP500 39 stron. Continuous ink supply system
Również dla Canon PIXMA MP500: Arkusz specyfikacji (2 strony), Zacznij tutaj (2 strony), Podręcznik uzupełniający (6 strony), Instrukcja instalacji (9 strony), Skrócona instrukcja obsługi (2 strony)
Preparing the machine
Unpack the machine
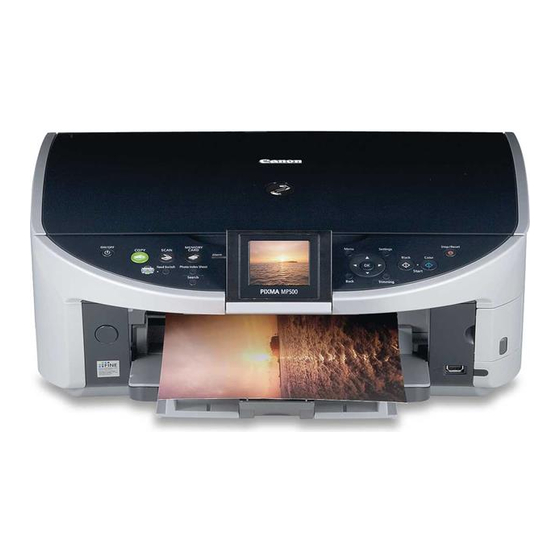
Please confirm bundled items against the illustration printed on the lid of the packing box.
IMPORTANT
• Do not connect the USB cable until after the software is installed.
• A printer cable is not included. You must purchase a USB cable (less than 10 ft. / 3 m) to connect your
machine to a computer.
1
Turn on the machine.
• The language setting is only available for some countries.
• If you have an undesired language selection, refer to the User's Guide.
2
Install the Print Head.
• If the Scanning Unit (Printer Cover) is left open for more than 10 minutes, the Print Head Holder moves
to the right. Close and reopen the Scanning Unit (Printer Cover) to return the Holder to the center.
• There might be some transparent or light blue ink on the inside of the bag the print head comes in - this
has no effect on print quality. Be careful not to get ink on yourself when handling these items.
• Do not reattach the protective cap once you have removed it.
3
Install the ink tanks.
• Ensure that all the ink tanks are installed in the order directed by the label. The machine cannot be used
unless all the ink tanks are installed.
• For safety reasons, store ink tanks out of the reach of small children.
• Do not drop or shake ink tanks as this may cause the ink to leak out and stain your clothes and hands.
• Be sure to remove the clear film from the ink tank in the exact order as shown in step 3.
• Do not reattach the protective cap once you have removed it.
• The Alarm Lamp still lights orange if an ink tank is not installed properly. Open the Scanning Unit
(Printer Cover) and make sure that all the ink tanks are installed in the correct order directed on the label.
4
Align the Print Head from the Operation Panel.
Execute automatic Print Head alignment to keep high print quality.
• When executing automatic Print Head alignment, always load paper in the Auto Sheet Feeder. You can
load paper in both the Auto Sheet Feeder and Cassette when printing. For details, refer to the User's
Guide.
• If the automatic Print Head alignment screen is not displayed, see "Aligning the Print Head
Automatically" on page 38.
• When the Print Head position pattern is printed, Print Head alignment is complete.
2