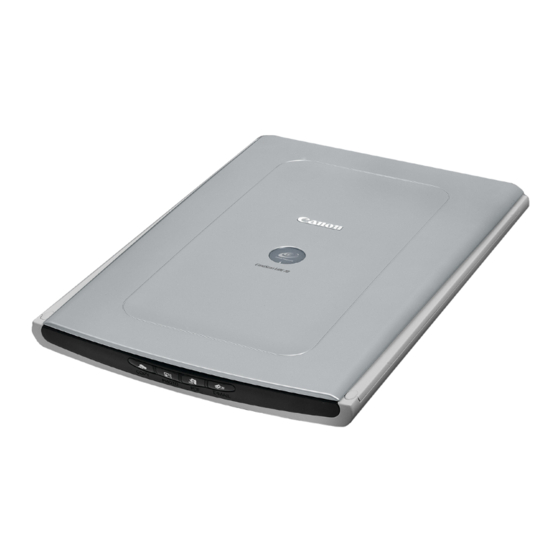
Canon 1502B002 Skrócona instrukcja obsługi
Przeglądaj online lub pobierz pdf Skrócona instrukcja obsługi dla Skaner Canon 1502B002. Canon 1502B002 2 stron. Canon canoscan lide 70: quick start

Checking the Package Contents
1
Scanner
2
USB Interface Cable
3
Stand
4
CanoScan Setup Utility CD-ROM
5
Quick Start Guide
Installing the Software
• Do NOT connect the scanner to a computer before installing the software.
• Quit all running applications before installation, including anti-virus software.
• For Windows 2000/XP, log in as an administrator to install the software.
1
Place the CanoScan Setup Utility CD-ROM in the drive.
CanoScan Setup Utility program starts.
• For Macintosh: Double-click the [Setup] icon. Enter the administrator ID and password on the authentication
dialog box.
2
Click [Easy Install] on the main menu.
3
Click [Install] to start installation.
Carefully read the License Agreement, and then click [Yes] to proceed.
Follow the on-screen instructions to perform the installation.
All the software programs and on-screen manuals will be installed on your computer.
4
When the Information dialog is displayed, click [ok] to restart your computer.
• For Macintosh: Skip this step and go to the step 5.
5
Follow the on-screen instructions to register your product.
6
When the installation is complete, click [Exit].
• For Macintosh: Click [Restart] to restart your computer.
Preparing the Scanner
1
Slide the lock switch on the bottom of the scanner toward the unlock mark (
• Always lock the scanner when carrying or transporting it.
2
Connect the scanner to the computer with the supplied USB cable.
• Only use the USB cable provided with the scanner. Use of other cables may lead to a malfunction.
• The scanner does not have a power switch. The power is activated as soon as the computer is turned on.
• When the scanner is connected to the USB 1.1 port on Windows XP and "HI-SPEED USB Device Plugged into
non-HI-SPEED USB Hub" message appears, ignore the message. The scanner operates in this condition
without problems.
Try Scanning
1
Place a document on the document glass and close the document cover.
2
Start ArcSoft PhotoStudio.
For Windows: Select [start]-[(All) Programs]-[ArcSoft PhotoStudio 5.5], then click [PhotoStudio 5.5].
For Macintosh: Open [Applications]-[PhotoStudio] folders, then double-click the [PhotoStudio] icon.
3
Click [File] menu, [Select Source] and select the scanner model.
For Windows: Do not select the one that includes [WIA] in the model name.
4
Click the acquire icon
to start ScanGear.
5
Select the type of document you are scanning in [Select Source] and click [Preview].
6
Click [Scan] to start scanning.
• Do not move the scanner while it is operating.
7
When prompted to close ScanGear, click [OK].
8
Save the scanned image in ArcSoft PhotoStudio and close the window.
Using the Scanner Buttons
COPY Button
Prints (copies) the scanned image with a printer.
PDF Button
Saves the scanned image as a PDF file.
• For Mac OS X 10.3/10.2.8: Refer to Troubleshooting in the Scanning Guide (on-screen manual) before using.
Refer to the Scanning Guide (on-screen manual) for further information about ScanGear, CanoScan Toolbox,
Scanner Buttons, Troubleshooting and Setting the Stand. To start the Scanning Guide, double-click the on-screen
manual icon on the desktop.
In this guide, Windows XP screen shots are used to illustrate explanations common to all operating systems.
QT5-0800-V02
).
PHOTO Button
Opens the scanned image in the bundled application
program, ArcSoft PhotoStudio.
E-MAIL Button
Attaches the scanned image to a new e-mail
message.
©CANON INC. 2006
Quick Start Guide
1
2
3
Bottom
Top
5
4
PRINTED IN VIETNAM
