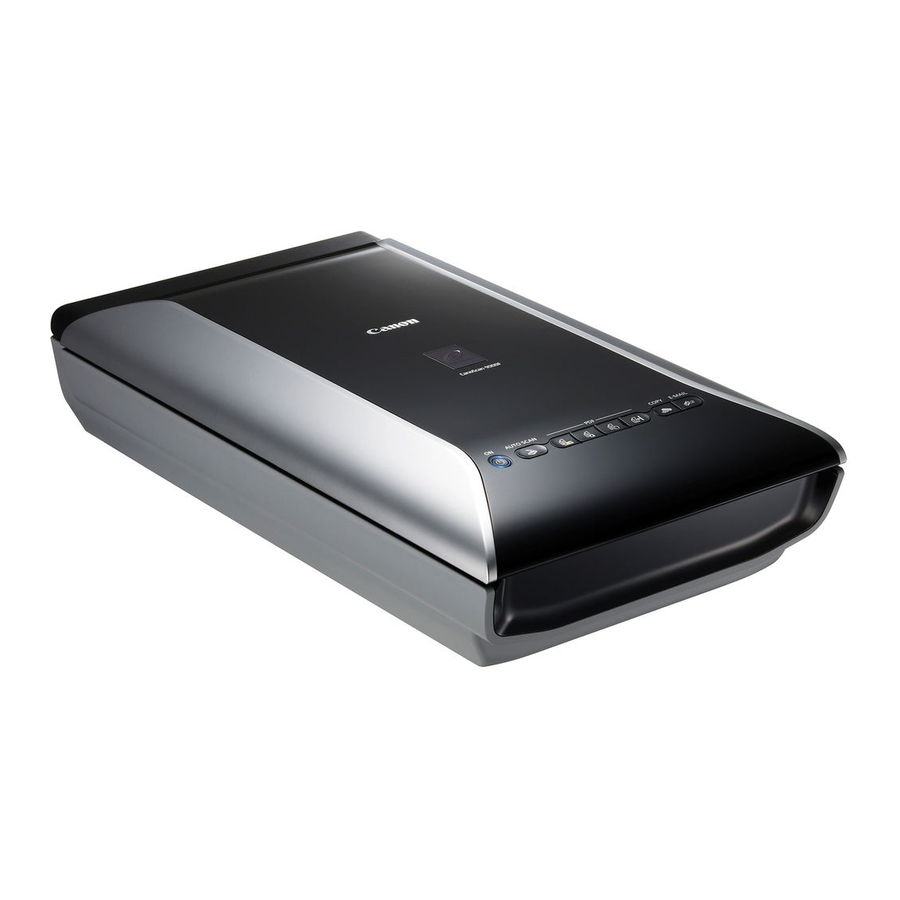
Canon CanoScan 9000F Skrócona instrukcja obsługi - Strona 10
Przeglądaj online lub pobierz pdf Skrócona instrukcja obsługi dla Skaner Canon CanoScan 9000F. Canon CanoScan 9000F 19 stron. Brochure
Również dla Canon CanoScan 9000F: Broszura (8 strony), Skrócona instrukcja obsługi (39 strony)

- 1. Table of Contents
- 2. Safety Precautions
- 2. General Handling Precautions
- 2. Setup and Operating Conditions
- 3. Package Contents
- 4. Installing the Software
- 5. Preparing the Scanner
- 6. Connecting the Scanner
- 7. Try Scanning
- 8. Using the Scanner Buttons
- 9. Scanning with MP Navigator EX
- 10. Scanning Film
- 11. Specifications
Preparing the Scanner
Connecting the Scanner
1
Connect the scanner to your computer with the supplied USB cable.
2
Connect the supplied power cord to the scanner.
3
Plug the power cord into the electrical outlet.
4
Press (
) to turn the power on.
Turning the Power Off
To turn the scanner off, be sure to press the ON button. Check the POWER lamp goes off, and then
unplug the power cord.
If you unplug the power cord while the POWER lamp is lighting or blinking, the scanning unit does not
move correctly.
• Only use the USB cable and the power cord provided with the scanner. Use of other cables
may lead to a malfunction.
• Do not touch the metallic parts of the USB connector.
• Always attach the power cord to the scanner before plugging into the electrical outlet.
Reversing this order may lead to malfunctions.
• When the scanner is connected to the USB 1.1 port and This device can perform faster or
HI-SPEED USB Device Plugged into non-HI-SPEED USB Hub message appears, ignore
the message. The scanner operates in this condition without problems.
8
