Canon L1 Podręcznik procedur instalacji - Strona 47
Przeglądaj online lub pobierz pdf Podręcznik procedur instalacji dla Skaner Canon L1. Canon L1 48 stron.
Również dla Canon L1: Instrukcja obsługi (37 strony)

4.2.2
Installation after Checks/
Adjustments
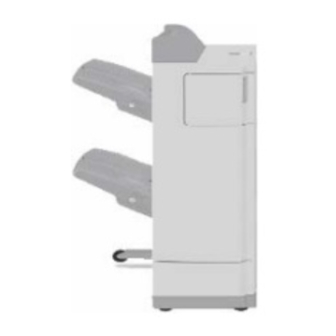
<Finisher-AE 1 >
1) If you have removed the auxiliary ring, mount the
rear left foot cover, and adjust the auxiliary rail to
suit the needs of the user, and fix it in place using
four screws.
2) Mount the front cover to the finisher using three
screws.
3) Mount the lower front extension cover [ l ] using a
screw [2] (RS tightening; M3 x 8). Mount the front
foot cover [3] using a screw [4] (RS tightening; M3
x 8).
4) Connect the finisher and the host machine using an
interface cable [I].
<Saddle Finisher-AE2>
1) Remove the punch lower front cover and the punch
rear cover (three screws), and remove the stepped
screw at the front and the rear; then, detach the
puncher unit and the host machine.
2) Open the front cover.
3) Mount the front foot cover [l] using a screw [2] (RS
tightening; M3 x 8).
4) Mount the lower front extension cover [3] using a
screw [4] (RS tightening: M3 x 8) and another
screw [5] (self-tapping; M4 x 12).
5) Close the front cover.
6) Mount the caster cover [6] using a screw [7] (RS
tightening: M3 x 8).
7) Mount the rear foot cover [8] using a screw [9]
(self-tapping; M4 x 12).
