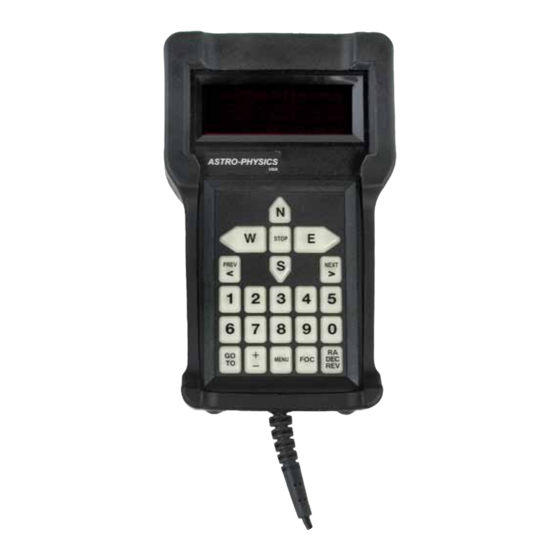
ASTRO-PHYSICS 1568GTO Instrukcja obsługi technicznej - Strona 7
Przeglądaj online lub pobierz pdf Instrukcja obsługi technicznej dla Keypad ASTRO-PHYSICS 1568GTO. ASTRO-PHYSICS 1568GTO 17 stron.

RePlaCing YouR gto KeYPad Cable
these instructions are for all versions of the keypad replacement cable. Your cable may have either a blue or a white
connector. the replacement procedure is the same for both connectors.
it is necessary to open your keypad in order to identify the proper cable. many keypads will be able to use either cable.
however, we suggest that you order the same cable that you are replacing.
Part # e0190cable-e has a blue amP connector and part # e0190cable-f has a white molex connector. see photo
below to identify the cable needed.
Warranty considerations
the manufacturer warrants the astro-Physics gto Keypad for three years. if your keypad is still within the warranty
period, you may void the warranty by opening the keypad to make this repair. note, damage to the cable itself is typically
caused by wear and tear and is not covered by the warranty.
tools and parts needed:
●
Phillips screwdriver, size #0
●
Keypad with Keypad Protector removed
●
e0190cable-e or e0190cable-f cable
Procedure
1. unscrew the six screws in the corners on the back
of the keypad.
2. carefully open the keypad, taking care to make sure that the white plastic
washers on the screws are not lost. lay both halves of the keypad with
the wires still connected on your work space.
3. locate the 6-wire connector that runs to the keypad cable. take note of
the connector's orientation. the wires of the blue amP connector should
be pointing towards the top of the keypad. the white molex connector
has small notches for orientation, as well as the wires being slightly offset
towards one side.
4. gently unplug the connector and pull the cable, with
its strain relief, from the cutout on the cover. note that
the strain relief has a "slot" which secures it in the case's
cutout. it is square so that orientation is not important.
5. unwrap the new cable and orient the amP (or molex)
connector in the proper direction. slide the new connec-
tor onto the pins (or into the molex slot) where the old
cable was attached. Place the strain relief of the new
cable in the cutout of the cover. check the position of the
6-Pin AMP Connector
(use E0190CABLE-E)
Blue AMP Connector
(E0190CABLE-E)
older style
Keypad
serial numbers
1565gto and
lower
6
E1090CABLE-E
AMP Connector
E1090CABLE-F
Molex Connector
