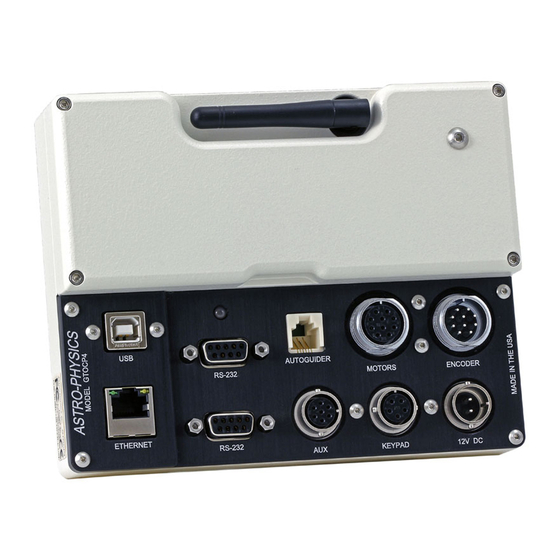
ASTRO-PHYSICS GTOCP4 Podręcznik - Strona 5
Przeglądaj online lub pobierz pdf Podręcznik dla Kontroler ASTRO-PHYSICS GTOCP4. ASTRO-PHYSICS GTOCP4 13 stron. First session with control box

Your first session
Connect on either serial or USB port. The Ethernet and WiFi connections are not available in this
release.
For previous APCC users upgrading from GTOCP3 to GTOCP4
1. If possible, before disconnecting the GTOCP3, use APCC to park the mount at an AP defined
position – Park 1, 2, 3 or 4. (Don't use a custom Alt/Az or current location.)
2. TEMPORARILY set
the "Unpark From" in
the park tab to that
same park position.
3. Open the Advanced
Settings Window from
the main window in the
Setup Tab: Setup tab
=> Advanced Settings
=> Auto Initialize:
UNcheck the Auto-Initialize option.
4. Remove the GTOCP3 and install the GTOCP4 in
its place.
5. If you were unable to park the mount earlier, move
it manually into a reference park position,
preferably Park 4 so that you can use a bubble
level for greater accuracy.
6. Power on the mount.
7. Connect to the mount in APCC. You should NOT
see an initialization window unless you failed to
follow step 3 above. If the Initialize window
opens, click the button bottom left to stop the
process! We will open this window in the next
step, but we want time to confirm the settings!
8. Open the Initialize Mount window by clicking
Settings (on the menu bar)=> Initialize Mount.
9. Verify all of the settings including the "Unpark
from" and the Site and Time Zone settings. Fix if
necessary.
10. Change the Set PEM setting to Disable PEM, but
leave it checked.
11. When satisfied that all is well, click the Initialize
button at the bottom.
12. REMEMBER to change the "Unpark from" settings
back to "Last Parked" first in the Park tab, then
confirm that it changed in the Initialize window.
Do NOT initialize a second time!
5
