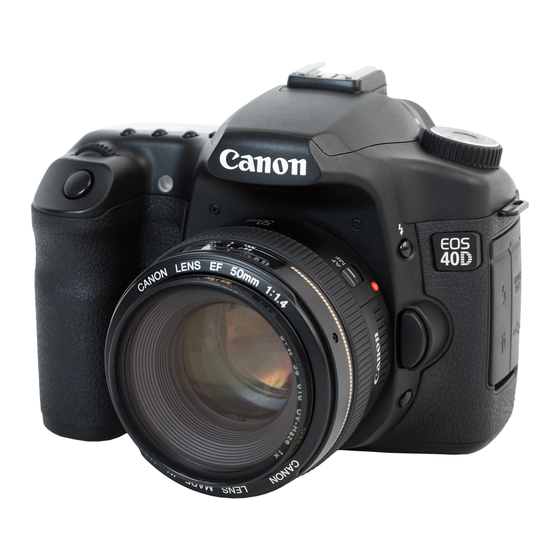
Canon Eos 1ds mark ii Instrukcja obsługi - Strona 39
Przeglądaj online lub pobierz pdf Instrukcja obsługi dla Oprogramowanie Canon Eos 1ds mark ii. Canon Eos 1ds mark ii 41 stron. Full line product guide spring 2009
Również dla Canon Eos 1ds mark ii: Instrukcja obsługi (28 strony), Instrukcja oprogramowania (2 strony), Instrukcja oprogramowania (2 strony), Instrukcja obsługi produktu (39 strony)

Shortcut Key List
Main Window
Operation
Key
+
Preferences
,
Hide Digital Photo
+
H
Professional
+
Hide Others
option
+ H
Quit Digital Photo
+
Q
Professional
+
Open in Edit window
O
Open Window
+ N
+
Close window
W
+
Add recipe and save
S
+
+
Add recipe and save as
shift
S
Add thumbnail to image
+
+
shift
T
and save
+
Convert and save
D
+
Batch process
B
+
+
Create New Folder
shift
N
+
+
Page setup
shift
P
+
Print
P
+
Print with Easy-PhotoPrint
E
+
Delete
delete
+
Info display
I
+
Copy
C
+
Paste
V
+
Select all
A
+
+
Clear all
shift
A
Operation
Key
+
+
Select RAW photos only
option
A
Select check mark1 photos
option +
+ 1
only
Select check mark2 photos
option +
+ 2
only
Select check mark3 photos
option +
+ 3
only
Copy recipe to clipboard
option +
+ C
Paste recipe to selected
option +
+ V
photo
+
Edit in Edit image window
+
Large thumbnail
1
+
Middle thumbnail
2
+
Small thumbnail
3
+
Thumbnail with information
4
+
Rotate left
L
+
Rotate right
R
+
Add check mark1
F1
+
Add check mark2
F2
+
Add check mark3
F3
+
Remove check mark
F4
+
+
Start Quick check tool
option
F
+
+
Start Trimming tool
option
T
+
+
Start Stamp tool
option
S
+
+
Start Rename tool
option
R
+
Minimize Window
M
Edit Window
Operation
Key
+
Preferences
,
Hide Digital Photo
+
H
Professional
+
+
Hide Others
option
H 100% view
Quit Digital Photo
+
Q
Professional
+
Close Window
W
Add recipe and save
+ S
+
+
Add recipe and save as
shift
S
+
Convert and save
D
+
+
Page setup
shift
P
+
Print
P
+
Info display
I
Copy recipe to clipboard
option +
+ C
Paste recipe to selected
+
+
option
V
photo
Show/hide
+
T
Tool palette
Quick Check Window
Operation
Key
Switch between full screen/
+
F11
normal screen
Switch back to normal
esc
screen
Switch between 50% view/
+
F10
fit to window
+
Add check mark1
F1
+
Add check mark2
F2
+
Add check mark3
F3
+
Remove check mark
F4
Operation
Key
+
Fit to window
4
+
50% view
1
+
2
200% view
+ 3
+
Rotate left
L
+
Rotate right
R
+
Add check mark1
F1
+
Add check mark2
F2
+
Add check mark3
F3
+
Remove check mark
F4
+
+
Start Trimming tool
option
T
+
+
Start Stamp tool
option
S
+
Minimize Window
M
Cancel CMYK simulation
(only functions while
space
holding down the key)
Operation
Key
+
Rotate left
L
+
Rotate right
R
Display the first image
home
Display the last image
end
+
Display the previous image
+
Display the next image
–
–
5-2
Cover/Table of
Contents
Introduction
Displaying Thumbnail Images
1
and Performing Basic Edits
in the Main Window
2
Performing Detailed
Edits in the Edit
Window
3
Performing Detailed
Edits in the Edit
Image Window
Displaying an
4
Image in the Quick
Check Window
5
Reference
Index
