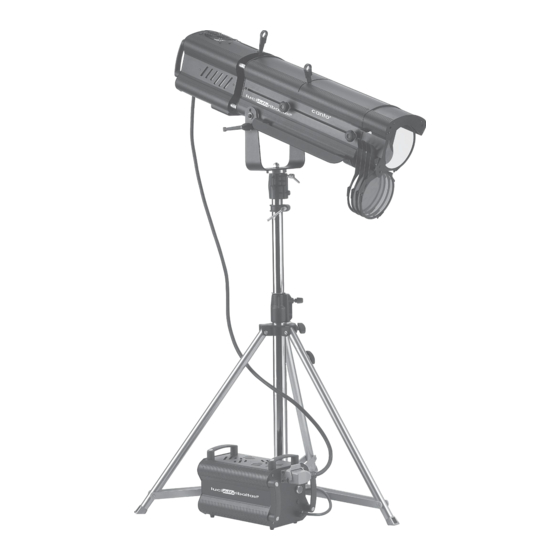
CANTO 2000 Instrukcja obsługi - Strona 8
Przeglądaj online lub pobierz pdf Instrukcja obsługi dla Reflektor CANTO 2000. CANTO 2000 11 stron. Follow spotlight metal halide and tungsten-halogen

12. IGNITING THE FOLLOW SPOT
Tungsten-Halogen models:
a. Connect the followspot to the AC receptacle (fan will start running).
b. Press the main power switch at the back of the spotlight (lamp is on).
Metal Halide models:
a. Connect the follow spot to the power supply unit. Please note that each followspot has been factory-
tested with relevant PSU. Both units are recognized by a serial number (on the outer box and on the
unit). Make sure you match each followspot to the relevant PSU.
b. Connect the PSU to the AC receptacle.
c. Push the main switch on the PSU (fan will start running).
d. Push the main switch positioned at the back of the spotlight (lamp is on).
CAUTION: DO NOT OPEN THE FIXTURE UNTIL THE LAMP
HAS BEEN SWITCHED "OFF" FOR AT LEAST 30 MINUTES
13. SPOTLIGHT SETUP
If you have purchased a metal halide unit (Canto 575, Canto 700, Canto 1200) we strongly recommend
you check the lamp alignment of your followspot as follows:
a. Switch on the unit and project the beam on a flat surface (a wall, for example) at a short distance
(three to six feet/one to two meters).
b. Completely de-focus the zoom lenses so that you can see the lamp projected on the surface.
c. Close the douser (front lever) to a slightly bigger size than the height of the lamp. You should obtain
a circle of light including the projection of the lamp.
d. If the lamp is not exactly centered in the circle, using a phillips screwdriver, set the alignment by
alternately loosening or tightening each of the three adjusting screws located at the bottom of the
holder block (see illustration) until the bulb is perfectly aligned.
NOTE: There are (6) screw heads visible
on the bottom of the bulb holder block.
The screws with lockwashers are mount-
ing screws; the screws with flatwashers are
the three adjusting screws.
CAUTION: adjust each screw very slowly in order to prevent the bulb from touching
the optical system, as direct contact could cause both the bulb and the lenses to explode.
Once the alignment is correct you can start using your followspot.
Adjusting
Screws
1
6
2
3
