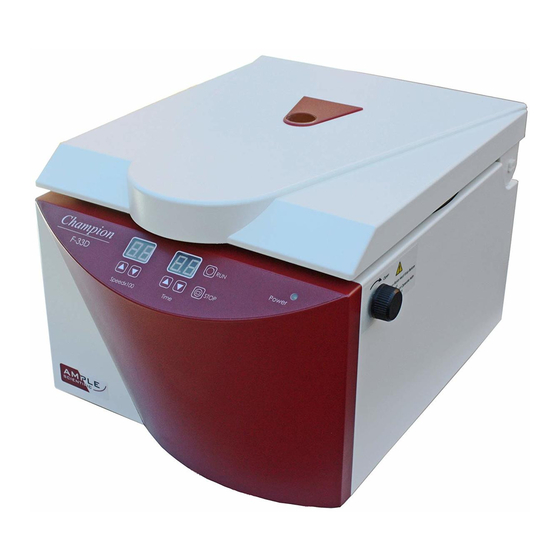
Ample Scientific Champion F-33 Series Podręcznik użytkownika
Przeglądaj online lub pobierz pdf Podręcznik użytkownika dla Sprzęt laboratoryjny Ample Scientific Champion F-33 Series. Ample Scientific Champion F-33 Series 4 stron.

1. Introduction
Thank you for choosing Champion F-33 Series centrifuge from Ample
Scientific. Champion F-33 Series features:
Unique vortex ventilation system keeps chamber temperature cool
and preserves sample integrity
Wide-mouth design for convenient access to samples while
facilitating centrifuge cleaning and maintenance
Temperature controlled motor to extend centrifuge life expectancy
Well balanced system minimizing vibration and maximize operation
safety
2. Product Structure
Speed
Control/Display
Time
Control/Display
Pg | 1
Power Switch - on the Back of
Centrifuge
Clear Viewing Port
Safety Lock
Figure 1 - Product External Structure
[On] – Starts
Operation
[Off] – Stops
Operation
3. Installation and Setup
1. Inspect centrifuge for any damages. Contact distributor for
questions regarding damages.
2. Place centrifuge on steady and leveled surface. The centrifuge
should be kept at least 300mm away from surrounding objects in a
well-ventilated environment. F-33 Series is for indoor use only.
3. Lid can be unlocked by rotating the 'Safety Lock' clockwise. Hold
'Safety Lock' in the unlocked position to open lid.
4. Make sure all eight of 15ml rotor buckets are installed in rotor.
Insert provided semi-circular cushions into buckets. Remove any
loose pieces or packing material in the centrifuge chamber.
5. Turn the Power Switch on. The Power Switch is located on the back
of the centrifuge.
6. Set 'Timer' for 1 minute, and 'Speed' to highest setting. Press 'On' to
start operation.
7.
Make sure there is little to no vibration and the whirring sound
produced is smooth. If excessive vibration or abnormal sound
occurs, stop the centrifuge and contact distributor immediately
8. Your centrifuge is now ready to be used. Please use enclosed
'Customer Service Card' to register your machine. Upon registration,
you will receive a unique Product Warranty Card as your
certification of authenticity. Customers who failed to register their
purchased product may be ineligible for manufacturer's limited 1-
year warranty.
4. Operation
1. Turn on centrifuge using power switch on the back.
2. Open centrifuge lid. Make sure there are no particles or liquid in
centrifuge chamber.
3. Make sure all eight of the 15ml rotor buckets are installed into rotor,
even if you plan to spin less than 8 tubes. Do not use buckets from
another manufacturer or substitute buckets from one centrifuge
1
to another*
.
Pg | 2
