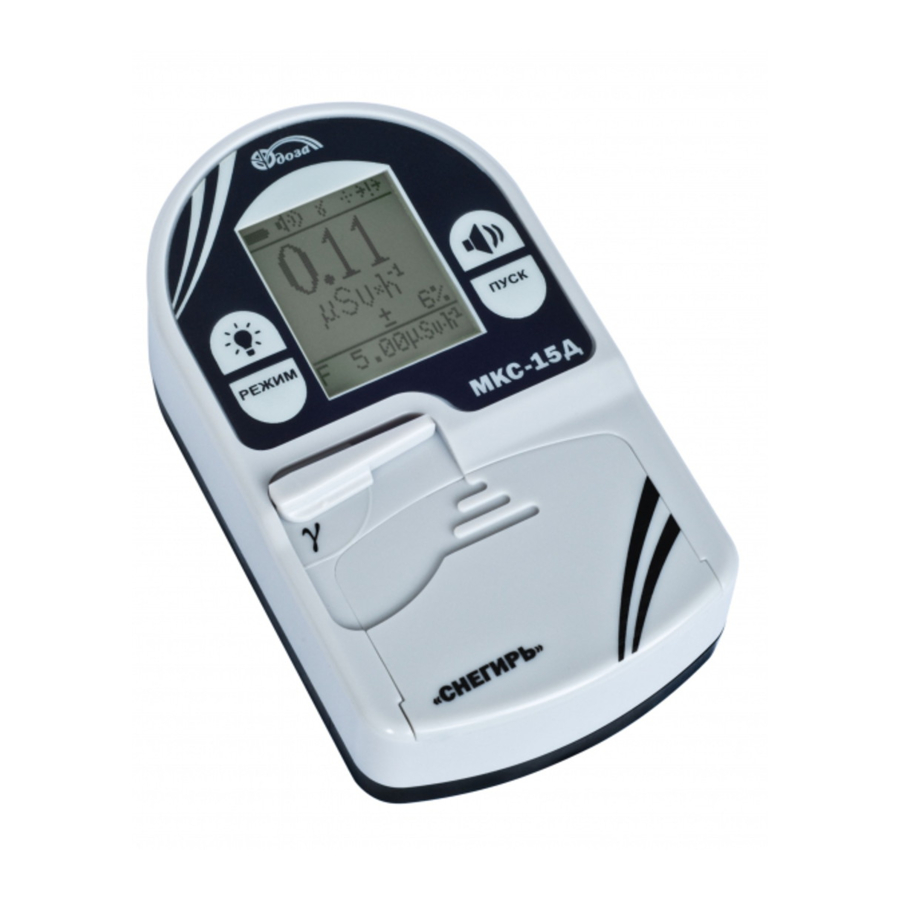
Doza MKS-15D Snegir Podręcznik użytkownika - Strona 15
Przeglądaj online lub pobierz pdf Podręcznik użytkownika dla Przyrządy pomiarowe Doza MKS-15D Snegir. Doza MKS-15D Snegir 17 stron. Dose-rate meter / radiometer

4.3 Safety precautions
It is necessary to follow safety requirements described in section 3.2 and in documentation
accompanying calibration tools and equipment.
4.4 Conditions
The following normal operating conditions shall be met during calibration:
-
air temperature ............................................................................ +(20 ±5) °C;
-
relative air humidity ................................................................... from 30 to 80 %;
-
atmospheric pressure .............................................................. 86.0 to 106.7 kPa;
-
natural radiation background .......................................... not more than 0.25 μSv·h
4.5 Procedure
4.5.1 External examination
Items to be checked during external examination:
-
proper completeness;
-
availability of operational documentation;
-
absence of defects which could affect the dosimeter's operation.
4.5.2 Testing
Testing of the dosimeter is carried out in accordance with 2.3.2.
The dosimeter is operable, if the measured background value is indicated on the corresponding
indicator windows.
4.5.3 Determination of basic relative measurement error of AEDR of photon radiation
Determine the basic relative measurement error of AEDR of photon radiation at values of
gamma radiation of 10 and 1500 μSv·h
Perform the calibration as follows:
1) Place the dosimeter on calibration installation with rear panel towards the source; the center
of dosimeter's sensitive area (upper rear part of the dosimeter at depth 10 mm) shall be located at the
central axis of the gamma radiation beam at a distance from the source corresponding to reference
AEDR value;
2) turn the dosimeter on according to 2.3.1;
3) expose dosimeter to radiation and take readings in the display window "AEDR" when the
statistical error of less than 5 %;
4) perform at least three measurements for each test point;
5) for each test point calculate the arithmetic mean of the measurements
following formula
6) for each test point calculate the basic relative error
H is the value of AEDR, reproduced by the calibration installation, μSv·h
*
where
оi
is the uncertainty of the calibration installation (from the calibration certificate), in per cent.
CAL
The results of calibration are considered satisfactory if the basic relative measurement error for
all test points does not exceed the corresponding limits stated in the section 1.2.3.
-1
in the autorestart mode ("->!->" symbol on the display).
3
*
Н
i
*
i
1
Н
meanj
3
in per cent by the following formula
*
H
H
mean
j
1
1 ,
j
*
H
oi
FVKM.412152.005RE
15
H , μSv·h
j
2
*
oi
2
100
,
CAL
-1
;
-1
.
-1
*
by the
срj
(4.1)
(4.2)
