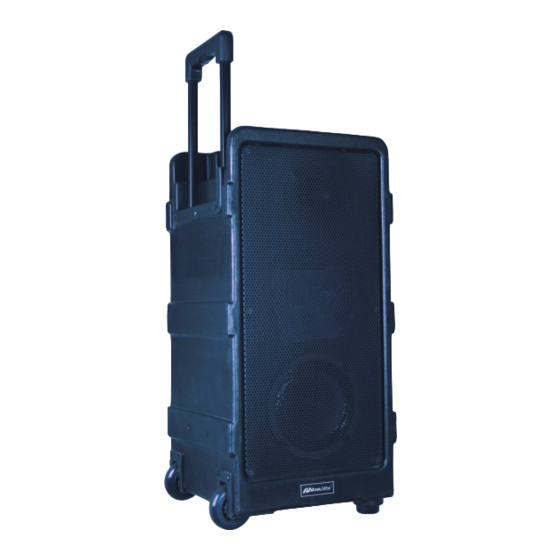
AmpliVox SW800 Podręcznik użytkownika - Strona 6
Przeglądaj online lub pobierz pdf Podręcznik użytkownika dla System głośników AmpliVox SW800. AmpliVox SW800 8 stron. Battery powered pa system
Również dla AmpliVox SW800: Podręcznik użytkownika (10 strony), Podręcznik użytkownika (8 strony), Podręcznik użytkownika (10 strony), Podręcznik użytkownika (12 strony)

WIRELESS HANDHELD MICROPHONE TRANSMITTER
If you are using the AmpliVox S1695 Wireless Handheld Microphone Transmitter, screw off the lower bottom section of microphone
and insert 2 - "AA" 1.5 Volt alkaline batteries.
·
IMPORTANT: Because the microphone has an AUTO SYNC function, you first select channel you wish to use on the receiver.
Then press the ASC button (D), the IR light will start to flash. Turn on microphone and point end (6) of microphone at the flash-
ing IR light on receiver and the microphone will auto sync to the same channel as selected on the receiver.
·
IMPORTANT: INSERT BASE OF MICROPHONE FIRST WHEN PLACING INTO THE STORAGE COMPARTMENT.
BATTERIES
1. Hold the body of microphone in hand and twist off bottom
section of microphone.
2. Insert two "AA" batteries.
3. Twist bottom section back on to microphone.
BATTERY STATUS
The life expectancy of the two batteries is about 10 hours.
When the "BATTERY" symbol on the display screen keeps
flashing the batteries should be replaced immediately.
Functions
1) Interchangeable Microphone Head
2) LCD Screen
3) Power / Mute Control Switch
4) Select Button
5) Microphone Input Sensitivity Ad-
justment—is used to set the gain of
microphone. If you are a soft talking
speaker you will need to turn the control
counter clockwise. Turn clockwise if you
are a loud talker. Use plastic screwdriver
that is supplied.
COMPACT DISC / MEDIA PLAYER OPERATION
·
HANDLING THE DISCS:
Always insert a CD, CD-R, CD-
R/W into player with label side
up! Proper handling and care of
CDs should be taken to insure
proper operation. Fingerprints
and dust should be carefully
wiped off the surface, starting
from the center of the disc and
moving out towards the edge. It is best to avoid touching
the surface opposite the label to prevent scratching or
leaving fingerprints on the surface area. Always remove
disc from player before transporting unit.
INPUTS
·
USB 2.0 / SD CARD SLOT: For Flash / Thumb drive memory devices and SD cards containing MP3 music files.
Microphone Operation and Status Display
·
TURN ON MICROPHONE: Push and hold the
"POWER/MUTE" (3) button until LCD screen
lights up.
·
TO MUTE: Press "POWER/MUTE" button twice
to MUTE. Channel number will flash when muted.
Press button again twice to remove "MUTE".
·
TURN OFF MICROPHONE: Push and hold the
"POWER/MUTE" (3) button for 2 seconds to turn
microphone "OFF".
·
SELECT CHANNEL (Manual): Press and hold
the "SELECT" (4) button for 2 seconds until you
only see the word Channel and channel number.
To change channel, when flashing, press the
"SELECT" (4) button until you reach the desired
channel. Flashing will stop after 10 seconds and
channel is now set.
·
LOCK / UNLOCK CHANNEL: Push the
"POWER/MUTE" (3) button and "SELECT"
button at the same time to lock or unlock channel.
When locked, channel cannot be changed.
"LOCKED" symbol appears in upper left-hand
corner.
·
LOADING AND UNLOADING DISCS:
Gently insert disc into player slot until
engagement mechanism pulls CD into
player. Do not force CD into unit. To
remove disc press EJECT button. CD
will stop playing and will slowly eject
from player. Gently remove CD, place
CD back into jewel case.
·
NORMAL DISC PLAY: Insert CD into
player and press PLAY/PAUSE button if CD hasn't already be-
gun to play. Disc play will start at first track. Player display will
indicate track number and time.
6
6
