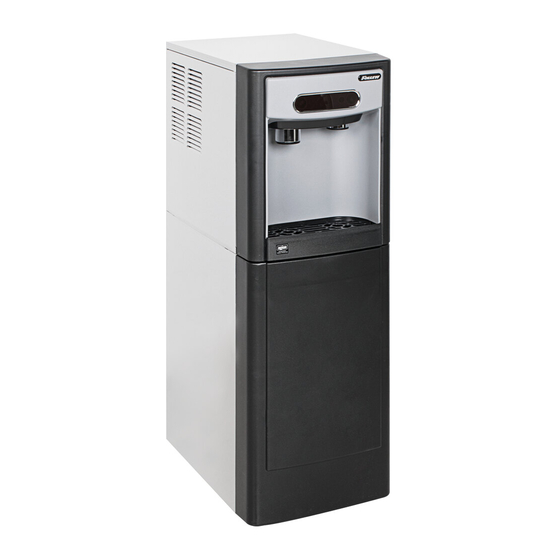
Follett Chewblet 7 Series Instrukcja instalacji - Strona 12
Przeglądaj online lub pobierz pdf Instrukcja instalacji dla Dozownik Follett Chewblet 7 Series. Follett Chewblet 7 Series 20 stron. Ice and water dispenser

4. Install the angle bracket inside the cabinet,18.15" (46.1 cm) from the
toe kick (Fig. 2.1). The bracket prevents the dispenser from being
located/pushed beyond the recommended cabinet space depth. Do
not attach the bracket to the dispenser.
Potable Water Connection
1. Connect water line. Recommended routing (Fig. 9) allows easy
access to water for cleaning and sanitizing procedure.
2. If installing the optional internal water filter*, please see Optional
Internal Water Filter Installation before proceeding.
* If your dispenser has the internal water filter option, the water filter must be
installed for the dispenser to operate. Because internal components will need to
be accessed for both procedures, Follett recommends installing the water filter
just prior to initial sanitizing.
3. Connect power supply.
4. Sanitize the dispenser prior to use (see the Initial Sanitizing Kit
instructions shipped with this unit).
Optional Internal Water Filter Installation
If your dispenser has the internal water filter option, the water filter must be
installed for the dispenser to operate. Because internal components will need
to be accessed for both procedures, Follett recommends installing the water
filter just prior to initial sanitizing.
1. If installing the optional internal water filter, please complete
the steps shown in Accessing Internal Components before
proceeding.
2. Lift and remove the top panel, set aside (Fig. 10.1).
3. Remove two screws (Fig. 10.2) and remove left side panel.
4. Install filter as shown. Turn filter clockwise until it is fully seated
(Fig. 10.3).
12
Dispenser and Ice Machine - 115 V, 230 V, 220 V
Fig. 8
1
18.15" (46.1 cm)
Fig. 9
3' (91.4 cm)
Plug
Valve
Water Inlet
Fig. 10
2
3
1
