Amprobe ULD-405 Podręcznik użytkownika - Strona 9
Przeglądaj online lub pobierz pdf Podręcznik użytkownika dla Czujniki bezpieczeństwa Amprobe ULD-405. Amprobe ULD-405 11 stron. Ultrasonic leak detector

Find Quality Products Online at:
4. MAIN APPLICATIONS
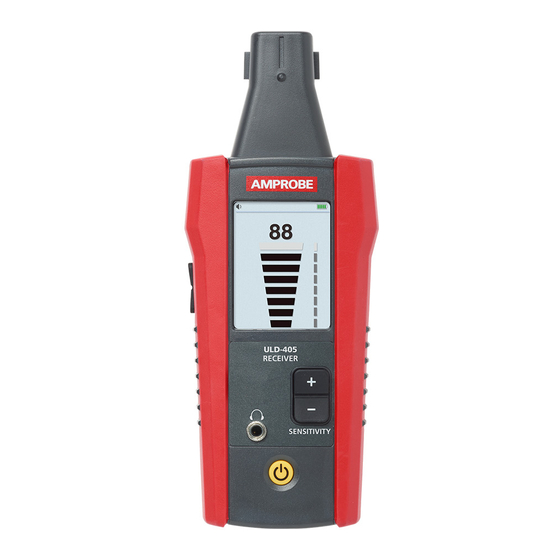
4.1 Using the ULD-405 Ultrasonic Leak Detector Receiver
1. Turn on the Receiver and plug the headphones into the jack located on the front of the
Receiver. Any standard set of 3.5 mm jack headphones are compatible.
2. Before moving to the target area, press "+" or "-" sensitivity buttons to adjust signal
strength sensitivity to the highest possible level where bargraph still shows either 0 or
a value close to 0. If signal strength cannot be adjusted down and the LCD still shows a
maximum value regardless on sensitivity adjustments, press the Filter button.*
3. Scan the target area with the microphone sensor.
4. As you move nearer to the source of the leak, vibration or electric discharge, the signal
strength will increase. This will be indicated on a screen with increasing signal strength
number and level of the bargraph.
5. The bargraph is a relative measurement only, so when the signal strength reaches
maximum, lower the sensitivity by pressing the "-" sensitivity button until the displayed
signal strength is less than 75. Repeat this process until you have isolated the source of
the ultrasound.
6. The audible sound emitted via headphones will help to verify the source of the leak,
for example hissing sound of the air leak versus ticking sound of the electric discharge.
The Receiver screen alone will not provide an indication of the leak source.
Note:
• For surroundings with a high level of background noise use the Parabola (PB-1) to
direct the ultrasound towards the sensor.
• For locations that you cannot point the Receiver directly at the leak, the Tubular
Extension can be used (TE-1 with the TEA-1 Adapter).
Figure 4.1: Using the Receiver to find a leak
GlobalTestSupply
www.
7
.com
