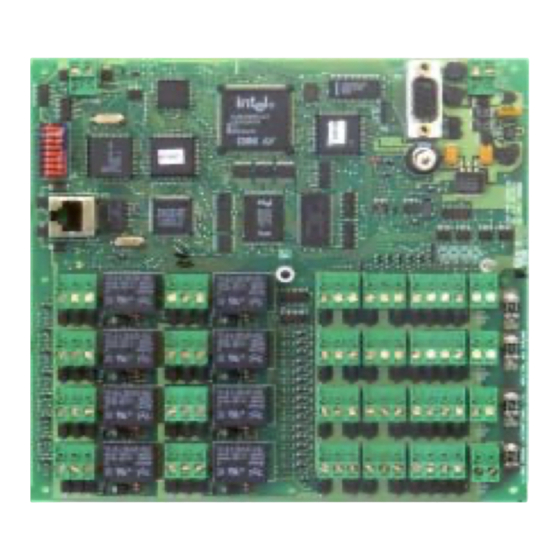
Cardax FT Controller 3000 Uwaga dotycząca instalacji - Strona 9
Przeglądaj online lub pobierz pdf Uwaga dotycząca instalacji dla Kontroler Cardax FT Controller 3000. Cardax FT Controller 3000 11 stron.

Removing the PCB
Follow the steps below to remove the Cardax FT Controller PCB from the Cardax FT
Cabinet:
1.
2.
3.
4.
Replacing the PCB
1.
Connector wiring
Ethernet
10BaseT
The 10BaseT Ethernet connects to socket P2 via an RJ45 connector.
1
Part number 3E1089 R3
March 2003
Ensure that the power to the Cardax FT Controller 3000 is switched off and
disconnected.
Following full antistatic precautions, disconnect all cables from the Cardax FT
Controller PCB. Remember to label each cable as you remove it.
Remove the 9 x M3 securing screws that hold the PCB onto the Cardax FT Cabinet
fixing standoffs.
Carefully lift the PCB clear of the Cabinet.
To replace the Cardax FT Controller PCB, reverse the above procedure.
Note: You must then initialise the Cardax FT Controller 3000 as detailed
earlier in this Installation Note.
8
1
+TXD
2
-TXD
3
+RXD
4-5
Not used
6
-RXD
7-8
Not used
9-10
Not used (metal casing)
9
