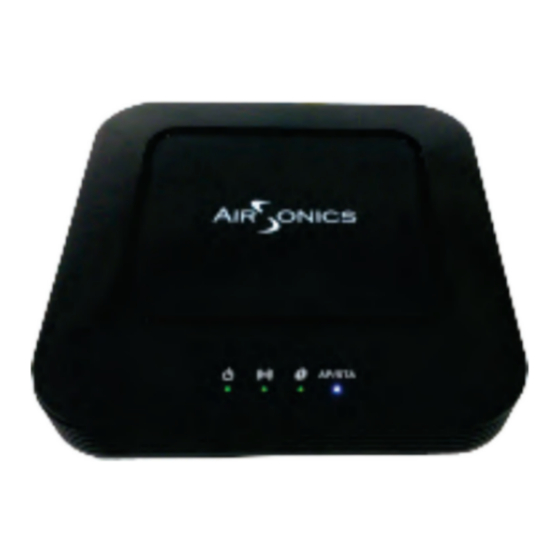
AIRSONICS GXT542U Podręcznik szybkiej instalacji - Strona 5
Przeglądaj online lub pobierz pdf Podręcznik szybkiej instalacji dla Przedłużacz AIRSONICS GXT542U. AIRSONICS GXT542U 11 stron. Gigabit wi-fi extender

The WLAN LED color indicates the receiver signal strength
(RSSI)
Green = Good, Blue = Fair, Red = Poor
Step 5 – Install the DVR and STBs
Congratulations. You have completed installation of a Gigabit Wi-Fi
Multicast IPTV link. Turn on any TV channel for visual verification of
the wireless connection quality.
Additional GXT542U clients can be paired to the AP
following the guideline in Section 2.
Step 6 – Verify the wireless performance
Access the Web User Interface to verify the wireless capacity for
watching and recording video.
A. Set all TV(s) to the highest resolution HD channels
B.
Begin recording HD channels on the DVR (if installed)
C. Ensure the laptop Ethernet port is configured to a fixed IP
address of 10.0.0.50
Client
AP
5
