Bosch 800 Series Instrukcja obsługi i konserwacji - Strona 12

Przeglądaj online lub pobierz pdf Instrukcja obsługi i konserwacji dla Zmywarka Bosch 800 Series. Bosch 800 Series 49 stron. Built-in wall ovens
Również dla Bosch 800 Series: Instrukcja instalacji (24 strony), Instrukcja instalacji (40 strony), Instrukcja obsługi i konserwacji (12 strony), Instrukcja instalacji (23 strony), Instrukcja instalacji (28 strony), Instrukcja instalacji (32 strony), Instrukcja obsługi (32 strony), Instrukcja instalacji (32 strony), Skrócona instrukcja obsługi i bezpieczeństwa (7 strony), Instrukcja obsługi i konserwacji (40 strony), Instrukcja instalacji (40 strony), Instrukcja instalacji (32 strony), Instrukcja instalacji (40 strony), Instrukcja instalacji (48 strony), Instrukcja obsługi i konserwacji (33 strony), Skrócona instrukcja obsługi (7 strony), Skrócona instrukcja obsługi i bezpieczeństwa (13 strony), Instrukcja instalacji (32 strony), Instrukcja serwisowa (36 strony), Instrukcja instalacji (29 strony), Instrukcja obsługi i konserwacji (24 strony), Instrukcja obsługi i konserwacji (40 strony), Instrukcja instalacji (28 strony)
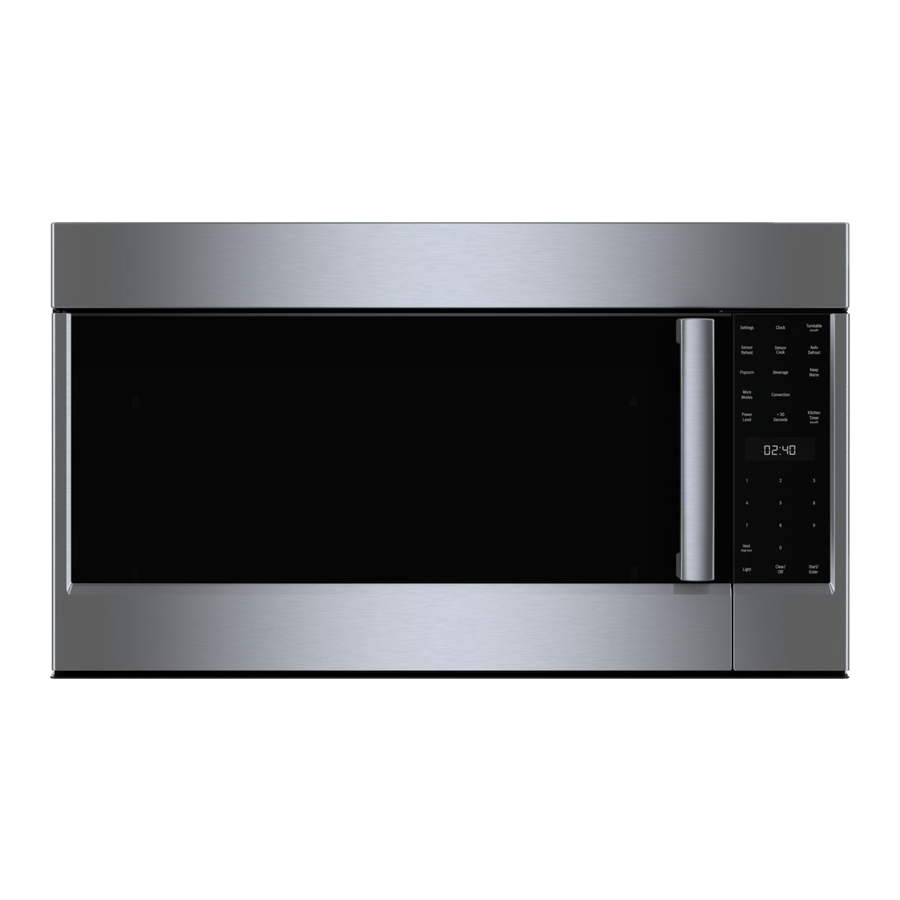
Bosch 800 Series Instrukcja obsługi i konserwacji

Control Knobs

The cooktop has one control knob for each burner.
9 CAUTION
Failure to operate knobs properly may result in
personal injury and damage to the appliance.
The cooktop has standard burner controls and rubber
grommets.
Figure 2: Standard Burner Control Knob
The standard burner controls have an infinite number of
heat settings. These settings are located on the burner
knob.
To operate: Select the appropriate control knob, push down
and turn to the left to the ignition symbol until the burner
ignites. Turn the knob to the desired setting. Turn burner off
by turning the control knob clockwise to OFF.

Burner Control Knob Removal

To remove knob and grommet: With burner in the OFF
position, gently lift knob up and off. Gently pull the grommet
from the sides and lift out.
9 WARNING
To avoid possible electric shock, do not reach
through control opening into rough-in box located
under the cooktop.
To replace grommet and knob: Carefully insert the
grommet into the opening, ensuring that the maintop is
seated in the track around the entire perimeter of the
grommet. Replace control knob by placing indicator line at
the 12 o'clock position. Press down firmly.
English 9
Oven Features
Cooling Fan
The cooling fan runs during all cooking modes. The fan can
be heard when it is running, and warm air may be felt as it
is released from the oven vent. The fan may also run after
the oven is off.
Convection Fan
The convection fan operates during any convection mode,
but not during preheat. When the oven is operating in the
convection mode, the fan will turn off automatically when
the door is opened.
Oven Bottom
Note:
Do not place food directly on the oven bottom.
Oven Vent
The oven vent is located at the top back of the range.
Warm air may be released from the vent before, during and
after cooking. It is normal to see steam escaping from the
vent and condensation may collect in this area. This area
may be hot when the oven is in use. Do not block the vent
as it is important for air circulation.
9 CAUTION
Do not use aluminum foil or protective liners to line
any part of an appliance, especially oven bottom.
Installation of these liners may result in a risk of
electric shock or fire.
Automatic Shutoff
The oven will automatically shut off after 24 hours.
Self-Cleaning
The oven features a self-cleaning function that eliminates
the manual labor involved with cleaning your oven.
Indicators and Other Features
Default Settings - The cooking modes automatically select
the default temperature. These can be changed when a
different one is needed.
E Number Codes -These codes display when there is a
problem with the range.
Stand By Mode
Stand by mode means that the oven has power, but no
cooking mode or timer is running.