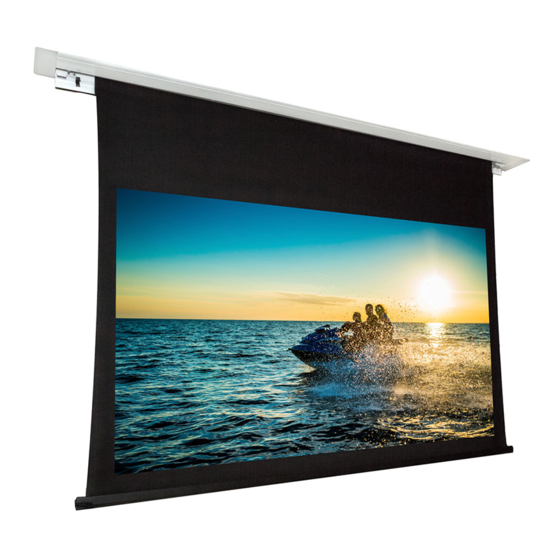
Dragonfly DFRM-NTT-100-MW Instrukcja instalacji - Strona 6
Przeglądaj online lub pobierz pdf Instrukcja instalacji dla Ekran projekcyjny Dragonfly DFRM-NTT-100-MW. Dragonfly DFRM-NTT-100-MW 17 stron. Recessed in-ceiling motorized projection screen
Również dla Dragonfly DFRM-NTT-100-MW: Instrukcja instalacji (9 strony)

DFRM Installation Manual
Step 4. Install the Suspension Brackets/Hardware
This step may be skipped if threaded rod is NOT being used to suspend the screen.
Important! The hardware used to mount the screen MUST be able to support
the full weight of the installed assembly. Screen weights are listed in section, "7.
Assembled Weights" on page 13.
Threaded Rod Suspension with Z Brackets
Use the chart to determine the mounting locations of the included ceiling brackets.
Center-to-Center
Type-Size
Bracket Distance
TAB-100"
TAB-110"
TAB-120"
TAB-130"
NTT-100"
NTT-110"
NTT-120"
NTT-130"
Assemble the threaded rod hanging assembly, then fasten the brackets to the ceiling. Use the
included screws and anchors for wood or masonry mounting, or supply your own hardware rated
for other ceiling surfaces. Use 2 pieces of threaded rod per side.
Threaded Rod Suspension with Z Brackets
Ceiling suspension hardware is not included for the flat brackets.
Pg. 6
111.10"
119.80"
128.50"
137.24"
101.65"
110.35"
119.06"
127.80"
1.88"
9.3"
1.88"
© 2016 Dragonfly
