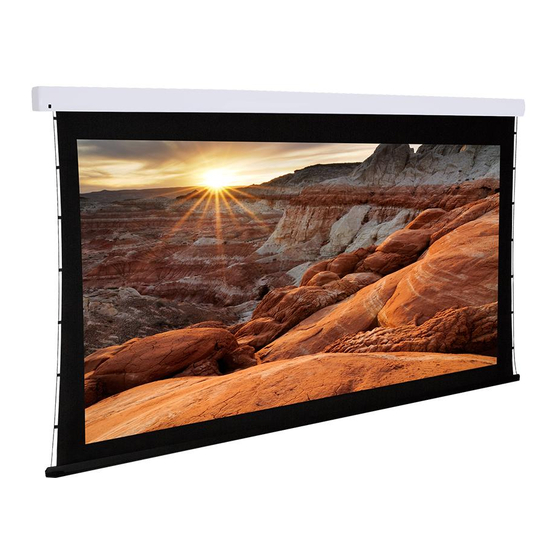
Dragonfly DFM-TAB-110 Instrukcja instalacji - Strona 11
Przeglądaj online lub pobierz pdf Instrukcja instalacji dla Ekran z napędem silnikowym Dragonfly DFM-TAB-110. Dragonfly DFM-TAB-110 17 stron. Dfm-tab screens
Również dla Dragonfly DFM-TAB-110: Instrukcja obsługi (8 strony)

7. Screen Adjustments
Before making any changes to the screen limit adjustment screws, read this section entirely. Turning the
wrong screw may cause the screen to bind under certain conditions, possibly resulting in permanent damage.
Damage of this type is NOT covered under warranty.
(Looking UP at the bottom of the screen while standing underneath)
7.1. OPEN Limit Adjustments
The OPEN screw (closer to the viewing area) adjusts how far down the screen moves for viewing and how much
of the black material above the viewing area is seen when the screen is in use.
•
Access the OPEN screw by placing the adjustment tool into the housing through the access hole after
removing the white adjustment hole grommet, and bending it toward the screw until it can be inserted.
•
Turning the OPEN screw COUNTERCLOCKWISE will INCREASE the black space above the viewing
area.
•
Turning the OPEN screw CLOCKWISE will DECREASE the black space above the viewing area.
•
Turning the screw TWO complete revolution will change the amount of black material seen
approximately ½" inch.
7.2. CLOSED Limit Adjustments
The CLOSED screw (away from the viewing area) adjusts how far down the bottom bar of the screen hangs
when the screen is rolled up into the closed position.
By default, the screen is set so the bottom bar will hang flush with the opening in the screen housing.
Adjust this setting only if the bottom of the screen must hang lower than the default setting when
closed. Changing this setting incorrectly may damage the screen and is NOT covered under warranty.
•
Access the CLOSED screw by placing the adjustment tool into the housing through the access hole
after removing the white adjustment hole grommet in the bottom of the screen housing.
Turning the white screw CLOCKWISE will cause the bottom rail to sit LOWER when the screen is
•
closed.
•
Turning the CLOSED screw COUNTERCLOCKWISE will cause the bottom rail to sit HIGHER when
the screen is closed. Do not turn the CLOSED screw counterclockwise unless the bar is already
sitting too low after adjustment.
•
Turning the white screw two complete revolutions will change the amount of screen left hanging
approximately ½" inch.
After setting is complete, check the full range of motion again using the manual switch so that the screen can
be quickly stopped if there is any issue.
www.snapav.com Support: 866.838.5052
Open Limit Screw
(closer to viewing area)
Left Side
Closed Limit Screw
(toward back of housing)
Grommet
Viewing Area
DFM-TAB Installation Manual
Pg. 11
