Bosch FAP-OC 500Series Instrukcja obsługi i konserwacji / instrukcja instalacji - Strona 22

Przeglądaj online lub pobierz pdf Instrukcja obsługi i konserwacji / instrukcja instalacji dla Spryskiwacz Bosch FAP-OC 500Series. Bosch FAP-OC 500Series 40 stron. Built-in wall ovens
Również dla Bosch FAP-OC 500Series: Instrukcja instalacji (21 strony), Instrukcja obsługi (40 strony), Instrukcja instalacji (6 strony), Informacje o produkcie (40 strony), Instrukcja instalacji (28 strony), Podręcznik użytkownika (48 strony), Podręcznik użytkownika (48 strony), Instrukcja instalacji (28 strony), Instrukcja obsługi i konserwacji (44 strony), Instrukcja instalacji (32 strony), Skrócona instrukcja obsługi (4 strony), Instrukcja obsługi i konserwacji (27 strony), Instrukcja instalacji (24 strony), Instrukcja instalacji (32 strony), Instrukcja obsługi i konserwacji (24 strony), Instrukcja instalacji (28 strony), Instrukcja serwisowa (41 strony), Instrukcja obsługi i konserwacji (21 strony), Instrukcja instalacji (32 strony), Instrukcja serwisowa (36 strony), Instrukcja instalacji (32 strony), Skrócona instrukcja obsługi i bezpieczeństwa (13 strony)
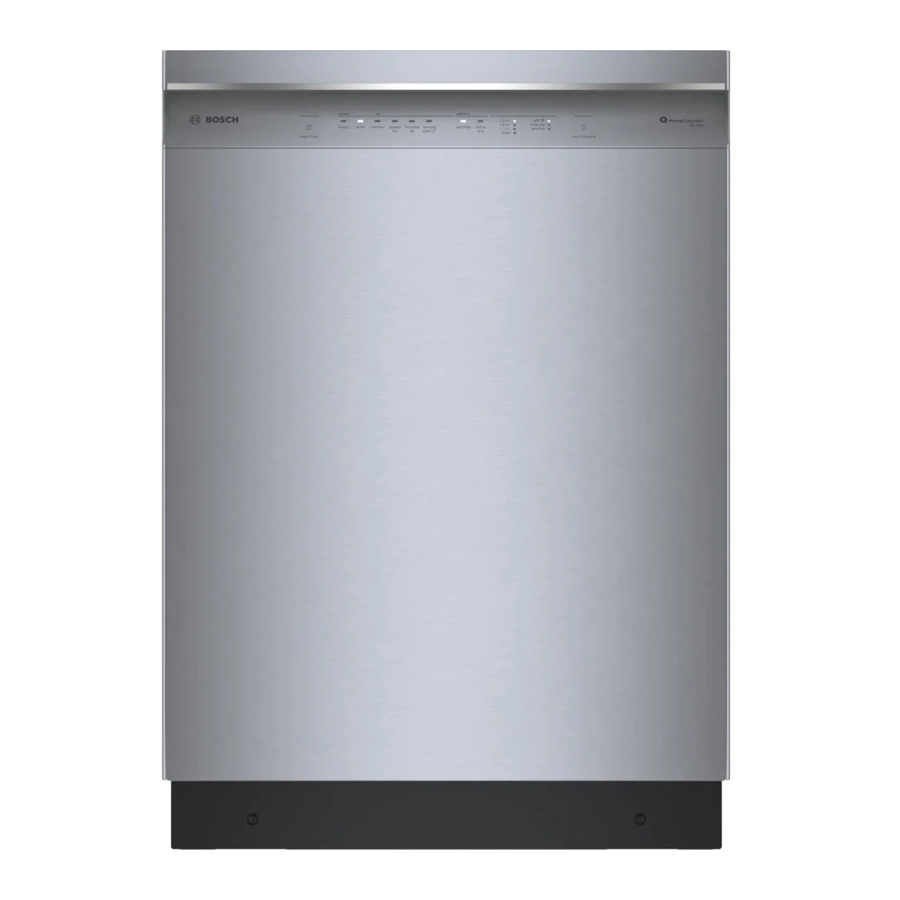
Bosch FAP-OC 500Series Instrukcja obsługi i konserwacji / instrukcja instalacji
Open the detergent dispenser tray.
1.
Add detergent or additive.
2.
Avoid overfilling the compartment to prevent early
3.
dispensing.
Close the detergent dispenser tray completely before
4.
starting the wash cycle.
Tip: DO NOT operate the washer without the detergent
compartment in place and fully closed.
Liquid detergent insert
To measure liquid detergent:
Pull out the detergent dispenser tray. Press down on
1.
the insert and remove the drawer completely.
Push the liquid detergent insert forward and down as
2.
shown.
Reinsert the tray into its compartment.
3.
NOTICE: Do not use the liquid detergent insert with gel-
type detergents and powdered detergents or for cycles
with pre-wash and selected "Finish in" time.

Starting the cycle

Touch the Start/Pause button. Indicator lamp lights up
and the cycle starts.
NOTICE: If you want to protect the cycle against
inadvertent adjustment, select the child lock.
~ Child lock; Page 22
During the cycle, the display field indicates the "Finish at"
time and, after starting the washing cycle, the cycle
duration and the symbols for the cycle progress.

Child lock

You can secure the washer against inadvertent changing
of the set functions. To do this, activate the child lock
after cycle start.
To Activate/Deactivate, touch and hold Temperature and
Finish in buttons for approximately 3 seconds. The
symbol appears in the display.
lit steady: The child lock is active.
D
blinking: The child lock is active and the cycle
D
selector has been adjusted. To prevent a cycle
interruption, set the cycle selector back to the initial
cycle. The symbol lights up again.
NOTICE: The child lock can remain activated until the
next cycle start even after switching the machine off.
Then you must deactivate the child lock before cycle
start and if necessary activate it again after cycle start.
22

Selecting a different cycle

If you have inadvertently started the wrong cycle, you can
change this as follows:
Touch Start/Pause.
1.
Select another cycle.
2.
Touch Start/Pause. The new cycle starts from the
3.
beginning.

Pausing/Adding a garment to the cycle

Pausing the wash cycle can be useful for several
purposes.
e.g. for soaking ~ Soaking; Page 27
Touch Start/Pause.
load will soak in water until continued by touching Start/
Pause.
For adding a garment after the cycle begins.
Touch Start/Pause.
1.
Open door carefully and add or remove laundry item.
2.
Note: You can do this as long as the Start/Pause
indicator flashes and it is safe to do so.
Close door.
3.
Touch Start/Pause.
4.
The cycle continues.
NOTICE: If the cycle is paused but the door will not
unlock it could be for safety reasons (high water level,
water temperature or drum speed).

Cancel cycle

For cycles with a high temperature:
Touch Start/Pause.
1.
Cool the laundry off: Select Rinse.
2.
Touch Start/Pause.
3.
For cycles with a low temperature:
Touch Start/Pause.
1.
Select Drain.
2.
Touch Start/Pause.
3.

Cycle end

End appears in the display field and the Start/Pause
button indicator lamp is off.
If the symbol
Å
detected too much foam and it automatically adds an
additional rinse to remove the foam.
D
NOTICE: Use less detergent the next time you run the
washer with the same load.
appears on the display. Wash
A
appears in the display, the washer has