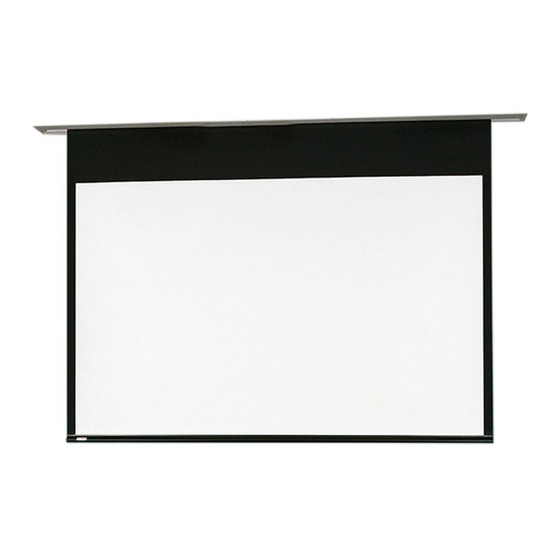
Draper 146012 Instrukcje instalacji i obsługi - Strona 5
Przeglądaj online lub pobierz pdf Instrukcje instalacji i obsługi dla Ekran projekcyjny Draper 146012. Draper 146012 8 stron. Electric projection screen

Access FIT E and V
Section 6 - Operation
CAUTION: When operating for the first time, cycle unit down and up several times to confirm satisfactory operation. Be prepared to cut POWER if necessary.
•
110-120V SINGLE STATION CONTROL - 3-position UP-OFF-DOWN switch permits operation to be stopped at any point. Factory adjusted limit switches
automatically stop screen when fully down or fully up.
•
110-120V MULTIPLE STATION CONTROL - Switches are similar in appearance to 110-120V Single Station Control. Screen stops when switch is released and
may be restarted in either direction. Factory adjusted limit switches stop screen automatically when fully up or fully down.
•
24V CONTROL - 3-button UP-STOP-DOWN switches stop at any point desired and operate in any sequence. Factory adjusted limit switches automatically stop
screen when fully up or fully down. Installer should incorporate an all-pole disconnect in fixed wiring available with RF or IR remote.
•
KEY OPERATED SWITCHING - Two key-operated switches optionally available with this unit:
•
Key-operated power supply switch controls power to screen and switches. When "off", switches will not operate screen. Key may be removed from switch in
either "on" or "off" position.
•
Three-position key switch permits the screen to be operated directly by key. Requires screen operator to have a key.
•
RS232 / ETHERNET - Serial communication and network communication optionally available.
Section 7 - Tab-Tension Adjustment Procedure
Please Note: Draper's Tab-Tensioning System is factory-set, and under normal
circumstances will not require field adjustment. If wrinkles are observed,
however, follow the adjustment procedure shown in Figure 8.
Figure 8
END OF
DOWEL
PUSH & TURN
COUNTER-CLOCKWISE
to RELEASE TENSION
page 5 of 8
END OF
DOWEL
PUSH & TURN
CLOCKWISE
to INCREASE TENSION
