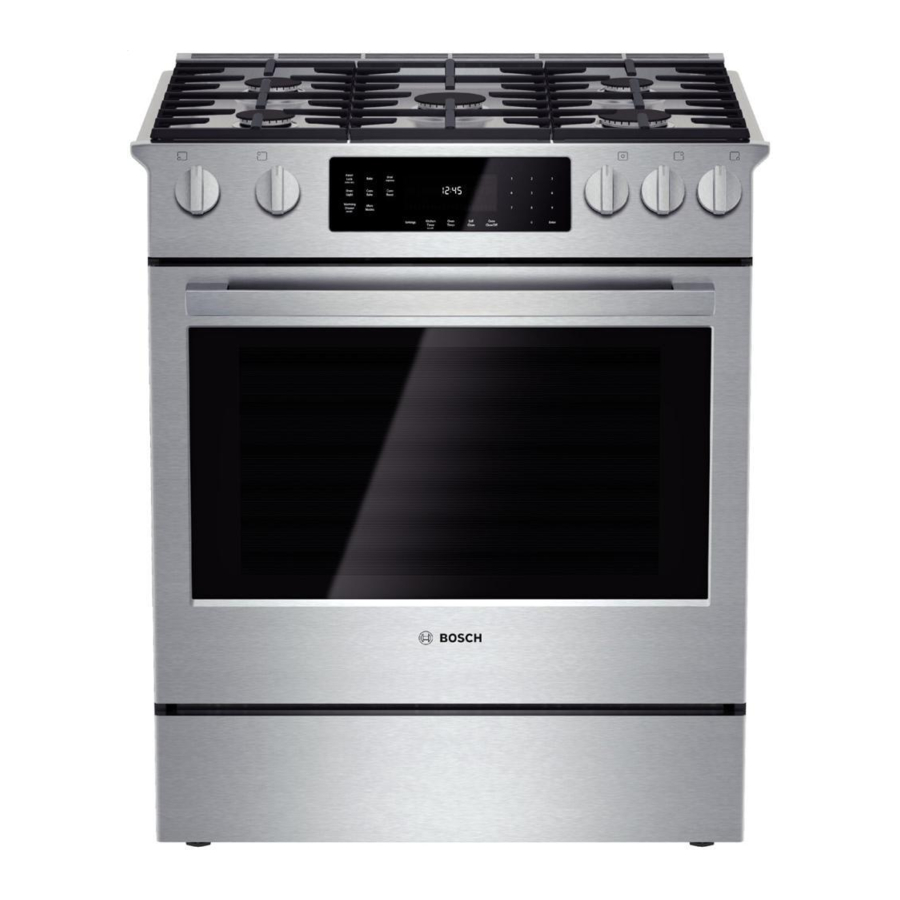
Bosch Vision 800 Series Instrukcja serwisowa - Strona 21
Przeglądaj online lub pobierz pdf Instrukcja serwisowa dla Spryskiwacz Bosch Vision 800 Series. Bosch Vision 800 Series 36 stron. Gas slide-in ranges
Również dla Bosch Vision 800 Series: Instrukcja obsługi (40 strony), Wymiary i specyfikacje (2 strony), Instrukcja instalacji (6 strony), Instrukcja serwisowa (43 strony), Instrukcja instalacji (28 strony)

58300000194725 ARA EN B
5. Install the new blade.
6. Reassemble the convection fan and replace the baffle.
7. Restore power and test operation.
6.5.2 Replacing the Convection Fan Motor
1. Follow steps 1-3 in the Replacing the Convection Fan Blade
section.
2. Remove the washer located behind the blade and set aside.
3. Remove the screws securing the right and left side trim pieces
to the cabinetry.
4. Carefully slide the range out of the cutout to gain access to the
motor from the rear of the unit.
5. Remove the rear housing panel.
6. Disconnect the wires from the motor terminals.
7. Remove the screws securing the fan motor.
8. Three sheet metal tabs hold the motor in position after the
screws are removed; bend the tabs outward, using a flat blade
screwdriver or pliers, then remove the motor.
Figure 25 Sheet metal tabs for securing convection fan motor to rear of oven
9. Install the new motor, being sure to bend the three sheet metal
tabs back in.
10. Reinstall the fan blade and baffle.
11. Restore power and test operation.
Copyright by BSH Home Appliances Corporation
This material is intended for the sole use of BSH authorized persons and may contain confidential and proprietary information. Any unauthorized review, use, copying, disclosure, or distribution in any format is prohibited.
MAY 2016
6.6
When electricity flows to the HSI, the igniter expands slightly, and
amps flow to the dual safety valve. When the bi-metal arm inside the
valve is heated, the arm flexes, opening the valve and allowing gas to
flow to the burner. When operating as expected, the burner should
ignite within a maximum of 90 seconds from the time power is first
supplied to the igniter.
If the igniter glows, but burner does not light, or if the oven is not
heating sufficiently (too cool), the igniter may be too weak and may
not be getting hot enough to open the safety valve as expected.
If gas is flowing as expected to one burner (bake or broil) but not the
other, the igniter is most likely the culprit.
If the igniter or the safety valve are suspected to be faulty, remove
and check for continuity. If no continuity, replace the part. Otherwise,
check the control module for a faulty relay.
6.6.1 Replacing the Broil Igniter
1. Remove power to the range and turn off the gas supply.
2. Remove oven door and racks.
3. Carefully slide the range out of the cutout to gain access to the
igniter wires.
4. Remove the rear housing panel.
5. Disconnect the broil HSI wires.
1901 Main St ▪ Suite 600 ▪ Irvine, CA 92614
Service Manual for Bosch 800 Series Gas Slide-in Ranges
Oven Burners and Hot Surface Igniters (HSIs)
Page 21 of 36
800 944-2904
