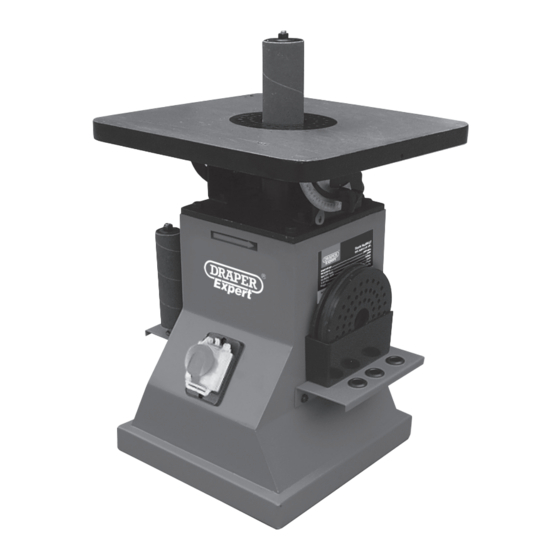
Draper 98427 Instrukcja obsługi - Strona 12
Przeglądaj online lub pobierz pdf Instrukcja obsługi dla Sander Draper 98427. Draper 98427 20 stron. 230v oscillating spindle sander

8.
PREPARING THE SANDER
Remove the nut using a suitable spanner (FIG.3)
and lift away the washer. Slide the sanding sleeve
and drum clear of the bobbin and remove the
sleeve.
If removal is difficult, lubricate the rubber body to
enable fitting of a new sanding sheet.
Place the new sanding sleeve onto the rubber
body (FIG.4) and slide onto the rubber body so it
fits centrally with no edge of the sheet overhanging
the rubber body.
Replace the washer and nut, tightening the nut
with a spanner to expand the rubber body. This will
in turn, secure and grip the sanding sleeve onto
the rubber drum.
Note: Do not over-tighten the nut as this will distort
the sanding sleeve.
8.3
INSTALLING THE BOBBIN ONTO
THE SANDER - FIG.5
Lower the bobbin down through the top of the
machine.
Locate the thread on the spindle into the motor
drive spindle thread.
Hold the motor drive spindle with your hand and
tighten the bobbin into the motor drive spindle once
the threads have located.
Use 2 x open ended spanners (not supplied)
(FIG.5).
Use one spanner to hold the motor drive spindle
and tighten the bobbin spindle with the other
spanner. Do not over-tighten.
FIG.
3
FIG.
FIG.4
FIG.
FIG.5
FIG.
– 12 –
