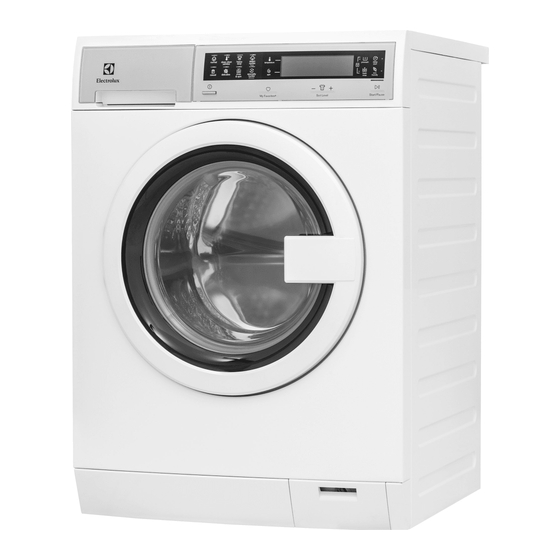
Electrolux EFDE210TIW Instrukcja obsługi i konserwacji - Strona 9
Przeglądaj online lub pobierz pdf Instrukcja obsługi i konserwacji dla Spryskiwacz Electrolux EFDE210TIW. Electrolux EFDE210TIW 18 stron. Front load dryer
Również dla Electrolux EFDE210TIW: Instrukcja obsługi i konserwacji (29 strony)

Specialty Cycle Selection
To scroll through the specialty cycles, continue to press the
specialty cycles icon. The selected cycle will be shown on the
text display.
jeans
Select this Auto Dry cycle for drying an entire load of denim
jeans.
fast dry
Quickly dry a small load.
wool
Use the wool cycle with washable woolens - check your
fabric care label to ensure proper garment care. To help your
wool items keep their shape, use of optional drying rack is
recommended.
time dry
To manually select the drying time for this specialty cycle,
press the dry time icon. Actual drying time (20 minutes to
120 minutes) will be displayed.
Because this is not an Auto Dry cycle, you will not be able to
select a dryness level. Moisture sensing bars are not active
and dryer will continue to heat throughout the cycle until the
final cool down period.
Operating Instructions
Cycle Settings
Appropriate temperature, dryness level and options will be
displayed for each cycle. The settings can be changed before
the cycle is started. If changes are attempted after the cycle
starts a signal will beep and " Not possible " will be displayed.
NOTE
To change settings after the cycle starts, press Pause, adjust
the setting and press Start to resume the cycle.
Drying Temperature
To change the preset temperature, press the temperature icon
to scroll to the desired setting.
To protect your fabrics, not all temperatures are available with
every cycle. The indicator will not light if the setting is not
available with that cycle.
max
Recommended for durable fabrics and towels.
medium
Recommended for most cotton fabrics.
low
Recommended for delicate fabrics.
Dryness Level (Auto Dry)
To change the preset level, press the dryness icon to scroll to
the degree of dryness desired.
To protect your fabrics, not all dryness levels are available with
every cycle. If a dryness level is not appropriate for the cycle, it
cannot be selected.
Select the normal
dry level for most Auto Dry cycles.
Occasionally a load may seem too damp or over-dried at the
end of the cycle. To increase drying time for similar loads in
the future, select max
. For loads requiring less drying time,
select less
.
Select damp
for items you wish to partially dry before
hanging or ironing.
Cycle Options
To add options, press the corresponding option's icon to
illuminate the selection desired. To delete options, press the
option's icon again and the indicator light will turn off. If an
option is not appropriate for the cycle, the indicator will not
light. To protect your fabrics, not all options are available with
every cycle. Not all options are available on every model.
NOTE
To change the options once the cycle has begun, press the
Pause button, make the new selection and press Start
again.
wrinkle release
Select wrinkle release if the dried load might not be
removed promptly at the end of the cycle. The dry load will
continue tumbling without heat to help reduce wrinkling.
When chime is selected, a beep will be heard periodically.
The load may be removed any time during wrinkle release.
chime
A signal will sound at the end of the cycle (and periodically
during wrinkle release) if this option is selected.
9
