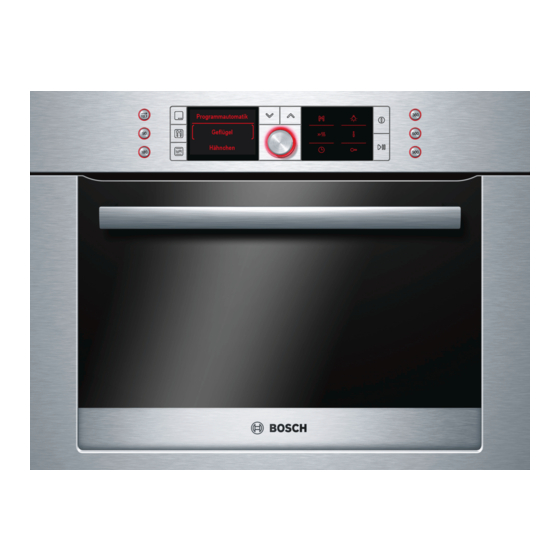
Bosch HBC86K753B Instrukcja obsługi - Strona 9
Przeglądaj online lub pobierz pdf Instrukcja obsługi dla Piekarnik Bosch HBC86K753B. Bosch HBC86K753B 44 stron. Compact oven with microwave

Optional accessories
You can purchase optional accessories from the after-sales
service or specialist retailers. You will find a comprehensive
range of products for your oven in our brochures and on the
Internet. The availability of optional accessories and the option
for ordering these online varies from country to country. Please
check the sales brochures.
Optional
HEZ number
accessories
Enamel baking
HEZ861000
tray
Glass roasting
HEZ915001
dish
After-sales service products
You can obtain suitable care and cleaning agents and other
accessories for your domestic appliances from the after-sales
Before using the appliance for the first time
This section tells you everything you need to do before using
the appliance for the first time.
Set the clock
■
Change the language for the text display if required
■
Heat up the cooking compartment
■
Clean the accessories
■
Read the safety information at the start of the instructions for
■
use. This is very important.
Initial setup
Once your new appliance has been connected to the power
supply, the "Basic settings" heading appears in the top line of
the display. Set the clock, and also the text display language, if
required. German is the default language.
Setting the clock and changing the language
Turn the rotary selector to set the current time.
1.
Press the
button.
X
2.
"Sprache wählen: deutsch" appears.
Select the desired language using the rotary selector.
3.
30 different languages are available.
Press the
0
button.
4.
The language and time are applied. The current time is shown
in the display.
Note: You can change the language at any time. See the Basic
settings section.
Use
For cakes and biscuits.
Slide the baking tray as far
as possible into the oven
with the tapered edge
facing the cooking
compartment door.
For stews and bakes that
you prepare in the oven. It is
particularly suitable for the
automatic programmes.
service, specialist retailers or (in some countries) online via the
eShop. Please specify the relevant product number.
Cleaning cloths for
Product
stainless-steel
no.
surfaces
311134
Oven and grill
Product
cleaning gel
no.
463582
Microfibre cloth with
Product
honeycomb
no.
structure
460770
Door lock
Product
no.
612594
Heating up the cooking compartment
To get rid of the new appliance smell, heat up the cooking
compartment when it is empty and the oven door closed.
Make sure that the cooking compartment contains no leftover
packaging, e.g. polystyrene pellets.
Keep the kitchen ventilated the whole time the oven is on.
Heat up the cooking compartment to 240 °C using Top/bottom
heating.
Press the
%
button.
1.
The initial display including descriptions of the buttons
appears.
Immediately press the
!
2.
The heading "Types of heating" appears in the top line. 3D
hot air and a temperature of 160 °C are suggested in the
settings area. Brackets appear around the type of heating.
Turn the rotary selector to change the type of heating to Top/
3.
bottom heating.
Press the
X
button to switch to the temperature.
4.
The brackets now appear around the temperature.
Use the rotary selector to set 240 °C.
5.
Press the
n
button.
6.
Operation starts. The "Types of heating" heading disappears.
Switch the oven off after 60 minutes using the
7.
The temperature indicator bars show the residual heat in the
cooking compartment.
Cleaning the accessories
Before you use the accessories for the first time, clean them
thoroughly with hot soapy water and a soft dish cloth.
Reduces the build-up of dirt.
Impregnated with a special oil
for perfect maintenance of
your appliance's stainless-
steel surfaces.
For cleaning the cooking
compartment. The gel is
odourless.
Especially suitable for
cleaning delicate surfaces,
such as glass, glass ceramic,
stainless steel or aluminium.
The microfibre cloth removes
liquid and grease deposits in
one go.
To prevent children from
opening the oven door. The
locks on different types of
appliance door are screwed
in differently. See the
information sheet supplied
with the door lock.
button.
button.
%
9
