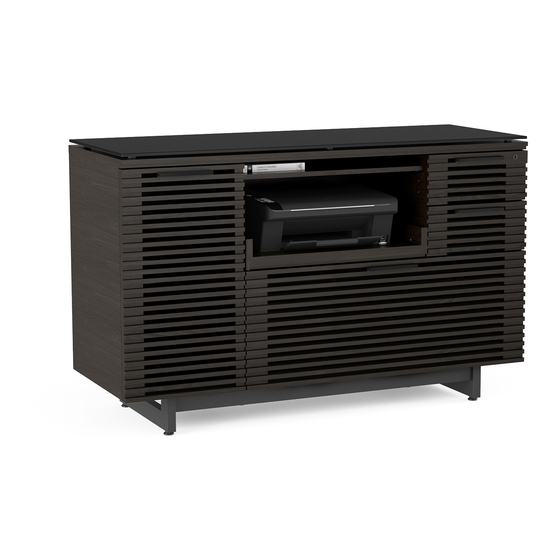
BDI CORRIDOR Instrukcja montażu - Strona 6
Przeglądaj online lub pobierz pdf Instrukcja montażu dla Meble BDI CORRIDOR. BDI CORRIDOR 12 stron. Multifunction cabinet
Również dla BDI CORRIDOR: Instrukcja montażu (4 strony), Instrukcja montażu (5 strony), Instrukcja montażu (4 strony), Instrukcja montażu (5 strony), Instrukcja montażu (5 strony)

ASSEMBLY
ASSEMBLY
Aligning the colored dots on the same side, attach
(A4) Wire Management Trough to (C10) Modesty
Panel using (H1) Screw and (T1) Hex Wrench.
NOTE: Keep screws loose until Step 6.
PART/DESCRIPTION
T1-HEX WRENCH
ASSEMBLY
ASSEMBLY
Match colored dot on (A3) Right Leg with colored
dot on Modesty Panel Assembly and attach using
(H5) Screws and (T1) Hex Wrench.
NOTE: Keep screws loose until Step 4.
Repeat to attach (A2) Left Leg to Modesty Panel
Assembly. Install (H13) Levelers to the bottom of
(A2 & A3) Legs. With the help of another person,
turn desk upright onto its base.
Colored
6 | BDIUSA.COM
STEP 1. ATTACH WIRE MANAGEMENT TROUGH
STEP 1. ATTACH THE BASE
QTY
1
H1-SCREW
3
STEP2. INSTALL LEGS & LEVELERS
STEP 1. ATTACH THE BASE
dot
H1
A2
H13
H5
H13
H1
H1
A4
C10
A4
Colored
dots
PART/DESCRIPTION
T1-HEX WRENCH
H5-SCREW
H13-LEVELER
A3
H5
CORRIDOR 6521
C10
QTY
1
6
4
H13
H13
