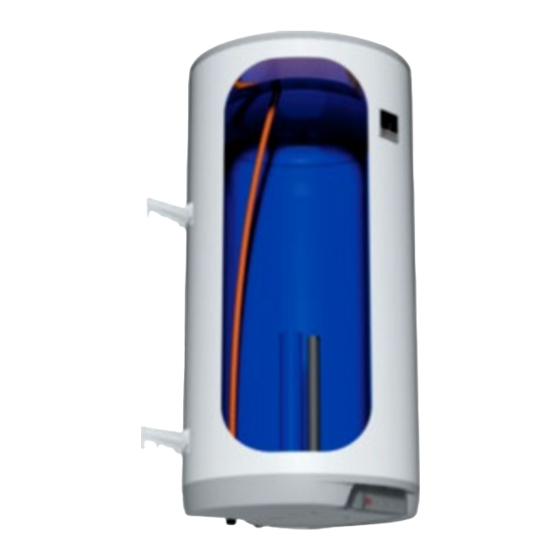
Drazice OKHE 80 Instrukcja obsługi i instalacji - Strona 9
Przeglądaj online lub pobierz pdf Instrukcja obsługi i instalacji dla Podgrzewacz wody Drazice OKHE 80. Drazice OKHE 80 18 stron. Tank-type water heaters for vertical mounting
Również dla Drazice OKHE 80: Instrukcja obsługi i instalacji (19 strony), Instrukcja obsługi i instalacji (9 strony)

If the hot water heater is mounted in a tight, small space, or in an intermediate ceiling, etc.,
you have to make sure that the connecting side of the appliance (connections to water
supply, area for electric plugging) remained accessible and no heat accumulation occurs.
Free space of up to 500 mm from the bottom edge of the heater has to be available under
the heater. When mounted directly under the ceiling, the distance from the ceiling has to be
50 mm at least.
If the water heater is mounted in enclosed areas, inter-ceilings, built-in structures and
recesses, ensure sufficient access to service fittings, electrical terminal boards, anodes and
manholes. Minimum spacing from manhole is 600 mm.
2.3 PLUMBING FIXTURE
Power water connects to pipes with ¾" thread in the bottom part of the heater. Blue - cold
water supply, red – hot water outlet. For potential disconnection of the heater, the service
water inlets and outlets must be provided with screw coupling Js 3/4". The safety valve is
mounted on the cold water inlet identified with a blue ring.
Each hot service water pressure heater must have a safety valve with a membrane spring.
Nominal clearance of safety valves is defined by standard. Heaters are not equipped with
a safety valve. The safety valve must be easily accessible, as close to the heater as possible.
The inlet pipes must have at least the same clearance as the safety valve. The safety valve is
placed high enough to secure dripping water drain by gravity. We recommend mounting
the safety valve onto a branch pipe. This allows easier exchange without having to drain
the water from the heater. Safety valves with fixed pressure settings from the manufacturer
are used for the assembly. Starting pressure of a safety valve must be identical
to the maximum allowed heater pressure, and at least 20 % higher than the maximum
pressure in the water main (Table 3). If the water main pressure exceeds such value,
a reduction valve must be added to the system. No stop valves can be put between
the heater and the safety valve. During the assembly, follow the guide provided by the safety
equipment manufacturer.
It is necessary to check the safety valve each time before putting it into operation.
It is checked by manual moving of the membrane from the seat, turning the make-and-break
device button always in the direction of the arrow. After being turned, the button must click
back into a notch. Proper function of the make-and-break device results in water draining
through the safety valve outlet pipe. In common operation, such a check needs to be
implemented at least once a month, and after each heater shutdown for more than 5 days.
Water may be dripping off the drain pipe of the safety valve; the pipe must be open into
the air, pointed down; environment temperatures must not drop below zero. When draining
the heater, use the recommended drain valve. First, close the water supply into the heater.
- 9 -
