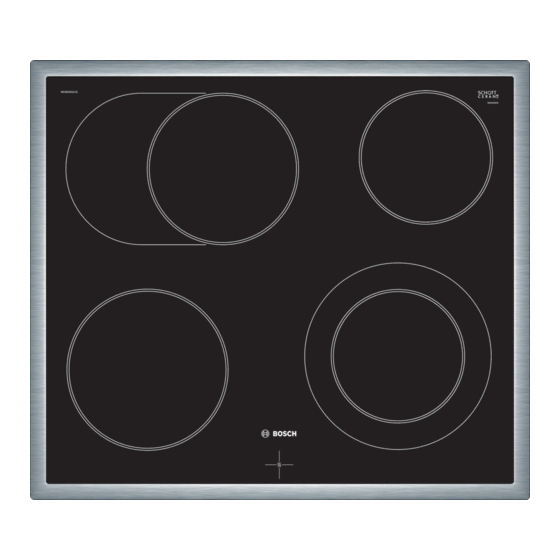
Bosch NKN645GA1E Instrukcja instalacji - Strona 2
Przeglądaj online lub pobierz pdf Instrukcja instalacji dla Piekarnik Bosch NKN645GA1E. Bosch NKN645GA1E 12 stron.
Również dla Bosch NKN645GA1E: Instrukcja instalacji (7 strony), Instrukcja instalacji (7 strony)

4
de
Sichere Montage
Beachten Sie diese Sicherheitshinweise,
wenn Sie das Gerät montieren.
¡ Elektrischer Anschluss nur durch konzes-
sioniertes Fachpersonal. Bei Falschan-
schluss erlischt die Garantie.
¡ Nur ein fachgerechter Einbau nach dieser
Montageanweisung garantiert einen siche-
ren Gebrauch. Bei Schäden durch nicht
fachgerechten Einbau haftet der Monteur.
¡ Kochfeld und Herd nur von der gleichen
Marke und mit gleichem Kombinations-
punkt.
¡ Der Berührungsschutz muss durch den
Einbau gewährleistet sein.
¡ Montageanweisung des Herds beachten.
Möbel vorbereiten
Die Arbeitsplatte muss eben, waagrecht und stabil
sein.
¡ Die Einbaumöbel müssen mindestens 90°C hitze-
beständig sein.
¡ Bei entsprechendem Unterbau
beitsplatten
bis 16mm verwendet werden.
¡ Die Schnittflächen hitzebeständig versiegeln.
→ Abb.
1
Kochfeld anschließen
Voraussetzung: Der Herd muss am Netz ange-
schlossen, aber spannungslos sein.
Den Schutzleiter PE (grün/gelb) des Kochfeldes
1.
an die Erdungstelle
Den Kochstellenstecker am Herd einstecken.
2.
Die Farbe der vorderen Leitung muss mit der
Farbkennzeichnung des Aufklebers übereinstim-
men.
→ Abb.
2
Kochfeld einsetzen
Die Leitungen nicht einklemmen und nicht über
scharfe Kanten führen.
→ Abb.
3
¡ Das Kochfeld kann auch in einen vorhandenen
500mm tiefen Ausschnitt eingebaut werden.
→ Abb.
4
2
können auch Ar-
des Herds anschrauben.
Kochfeld ausbauen
Das Gerät spannungslos machen.
1.
Den Herd herausziehen und vor dem Möbel (ge-
2.
gebenenfalls auf einem Podest) abstellen.
Die Kochstellenstecker abstecken.
3.
Zuletzt den Schutzleiter PE (grün/gelb) von der Er-
4.
dungsschraube lösen.
Das Kochfeld von unten herausdrücken.
5.
en
Safe installation
Follow these safety instructions when in-
stalling the appliance.
¡ Electrical connection must only be carried
out by a licensed expert. Incorrect con-
nection will invalidate the warranty.
¡ The safe operation of this appliance can
only be guaranteed if it has been installed
to a professional standard in accordance
with these installation instructions. The in-
staller shall be liable for any damage res-
ulting from incorrect installation.
¡ The hob and cooker must be from the
same brand, and have the same combin-
ation feature.
¡ Contact protection must be guaranteed
by the installation.
¡ Observe the installation instructions for
the cooker.
Preparing the units
The worktop must be level, horizontal and stable.
¡ The fitted unit must be heat-resistant to at least
90 °C.
¡ With an appropriate substructure
up to 16 mm can also be used.
¡ Seal the cut surfaces with heat-resistant material.
→ Fig.
1
Connecting the hob
Requirement: The cooker must be connected to the
mains, but switched off.
Screw the PE conductor (green/yellow) for the
1.
hob to the cooker's earthing point .
Plug the hotplate plug into the cooker.
2.
, worktops
