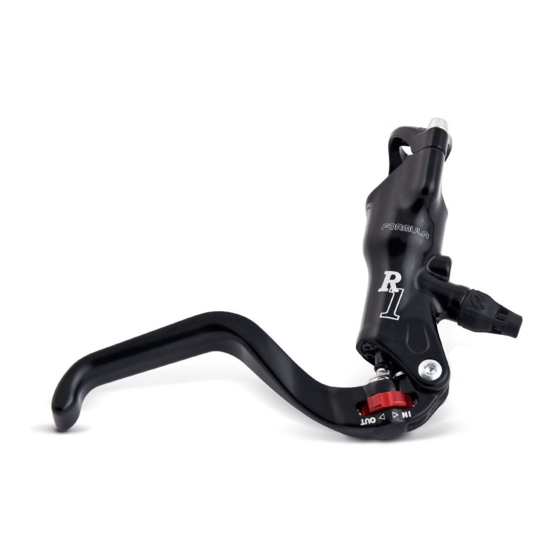
Formula T1 Instrukcja obsługi - Strona 12
Przeglądaj online lub pobierz pdf Instrukcja obsługi dla Akcesoria rowerowe Formula T1. Formula T1 20 stron.

- Insert the screws, with the entire assembly, in the holes of the fork fitting making sure the ar-
row faces upwards.
- Make certain the pads are inserted inside the disc without force or any interference.
- Tighten the screws with a 5mm hex. socket wrench (do NOT over tighten).
- Pull the pump lever 2–3 times to center the caliper.
- Keep the pump lever pulled and tighten the screws 18 with a torque setting of 9 Nm±5%.
Go to step 4).
3) Installing with adaptor on POST MOUNT fork
- Place the adapter 21 in the fork fitting, making sure the
arrow faces upwards
- Insert the screws 22 and tighten with a 5mm hex. socket
wrench.
- Tighten with a torque setting of 9 Nm±5%.
- Place the caliper 23 on the adapter making sure the disc
is inserted inside the pads without force or any interfer-
ence.
- Tighten the screws 24 with a 5mm hex. socket wrench
- Pull the pump lever 2–3 times to center the caliper.
- Keep the pump lever pulled and tighten the screws 24
with a torque setting of 9 Nm±5%.
(Proceed to step 4).
4) Slowly turn the wheel and make sure the disc is straight
and centered and does not rub against the pads.
Brake 2–3 times to bring the pads in alignment with the
rotor.
BEDDING IN PROCEDURE:
WARNING: All FORMULA brake systems require
a break in (bedding in) period to obtain top per-
formance. We recommend running the bike on a
flat surface at a speed of 30 Km/h and braking
it at least 50 times allowing it to come to a full
a stop (taking the required precautions) before
considering the system broken in and fully ef-
ficient.
REAR POST MOUNT FORK
- The rear post mount fork is supplied according to the user's requirements therefore it comes
with a specific description.
24
22
24
21
22
23
27
