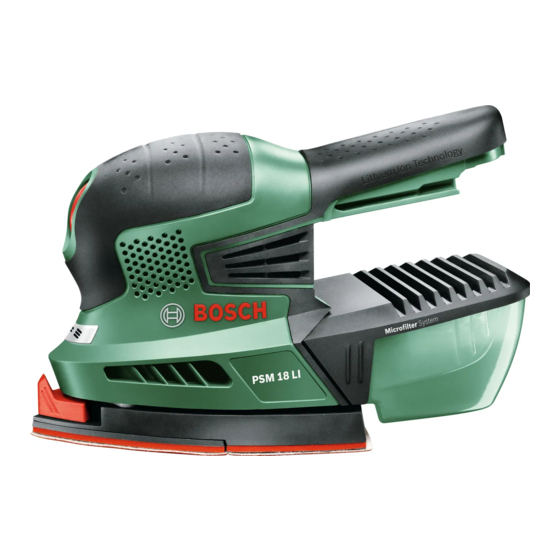
Bosch PSM 18 LI Oryginalna instrukcja obsługi - Strona 8
Przeglądaj online lub pobierz pdf Oryginalna instrukcja obsługi dla Elektronarzędzie Bosch PSM 18 LI. Bosch PSM 18 LI 10 stron. Cordless multi sander

OBJ_BUCH-1201-002.book Page 14 Monday, June 17, 2013 11:30 AM
14 | English
Identify additional safety measures to protect the operator
from the effects of vibration such as: maintain the tool and the
accessories, keep hands warm, organise work patterns.
Declaration of Conformity
We declare under our sole responsibility that the product de-
scribed under "Technical Data" is in conformity with the fol-
lowing standards or standardization documents: EN 60745
according to the provisions of the directives 2011/65/EU,
2004/108/EC, 2006/42/EC.
Technical file (2006/42/EC) at:
Robert Bosch GmbH, PT/ETM9,
D-70745 Leinfelden-Echterdingen
Henk Becker
Helmut Heinzelmann
Executive Vice President
Head of Product Certification
Engineering
PT/ETM9
Robert Bosch GmbH, Power Tools Division
D-70745 Leinfelden-Echterdingen
26.04.2013
Assembly
Before any work on the machine (e. g. maintenance,
changing the tool, etc.) as well as during its transport
and storage, lock the On/Off switch in the off position.
There is danger of injury when the On/Off switch is unin-
tentionally actuated.
Battery Charging (see figures A–B)
Use only the battery chargers listed on the accessories
page. Only these battery chargers are matched to the lith-
ium ion battery of your power tool.
Note: The battery is supplied partially charged. To ensure full
capacity of the battery, completely charge the battery in the
battery charger before using your power tool for the first time.
The lithium ion battery can be charged at any time without re-
ducing its service life. Interrupting the charging procedure
does not damage the battery.
The Lithium-Ion battery is protected against deep discharging
by the "Electronic Cell Protection (ECP)". When the battery is
empty, the machine is switched off by means of a protective
circuit: The inserted tool no longer rotates.
Do not continue to press the On/Off switch after the
machine has been automatically switched off. The bat-
tery can be damaged.
To remove the battery 2, press the battery unlocking button 1
and pull the battery out of the power tool toward the rear. Do
not exert any force.
The battery is equipped with a NTC temperature control
which allows charging only within a temperature range of be-
tween 0 °C and 45 °C. A long battery service life is achieved
in this manner.
Observe the notes for disposal.
2 609 007 287 | (17.6.13)
Dust/Chip Extraction
Dusts from materials such as lead-containing coatings,
some wood types, minerals and metal can be harmful to
one's health. Touching or breathing-in the dusts can cause
allergic reactions and/or lead to respiratory infections of
the user or bystanders.
Certain dusts, such as oak or beech dust, are considered
as carcinogenic, especially in connection with wood-treat-
ment additives (chromate, wood preservative). Materials
containing asbestos may only be worked by specialists.
– As far as possible, use a dust extraction system suita-
ble for the material.
– Provide for good ventilation of the working place.
– It is recommended to wear a P2 filter-class respirator.
Observe the relevant regulations in your country for the
materials to be worked.
Integrated Dust Extraction with Dust Box
(see figures C1 – C4)
Attach the dust box 3 onto the extraction outlet 10 until it
latches.
To empty the dust box 3, pull off the dust box downward.
Before opening the dust box 3, it is recommended to loosen
the dust from the filter element by gently striking it against a
firm support (as shown in the figure).
Hold the dust box 3 firmly, fold the filter element 11 upward
and empty the dust box. Clean the thin plates of the filter ele-
ment 11 with a soft brush.
External Dust Extraction (see figure D)
Slide the extraction adapter 12 onto the outlet piece 10. The
extraction adapter 12 accepts a vacuum hose with a diameter
of 19 mm.
An overview for connecting to different vacuum cleaners can
be found at the end of these operating instructions.
The vacuum cleaner must be suitable for the material being
worked.
When vacuuming dry dust that is especially detrimental to
health or carcinogenic, use a special vacuum cleaner.
Replacing the Sanding Sheet (see figure E)
When attaching a new sanding sheet, remove any dust or de-
bris from the sanding plate 5 (e. g. with a brush).
To ensure optimum dust extraction, pay attention that the
punched holes in the sanding sheet match with the holes in
the sanding plate.
The sanding plate 5 is fitted with Velcro backing for quick and
easy fastening of sanding sheets with Velcro adhesion.
Before attaching the sanding sheet 4, free the Velcro backing
of the sanding plate 5 from any debris by tapping against it in
order to enable optimum adhesion.
The machine is fitted with 2 sanding sheets that can be
changed individually, depending on the degree of wear.
Only use the machine when both sanding sheets are
mounted.
Only use sanding sheets with the same grain size.
Bosch Power Tools
