Community CP6 Instrukcja instalacji - Strona 2
Przeglądaj online lub pobierz pdf Instrukcja instalacji dla Głośniki Community CP6. Community CP6 6 stron. Pendant loudspeaker
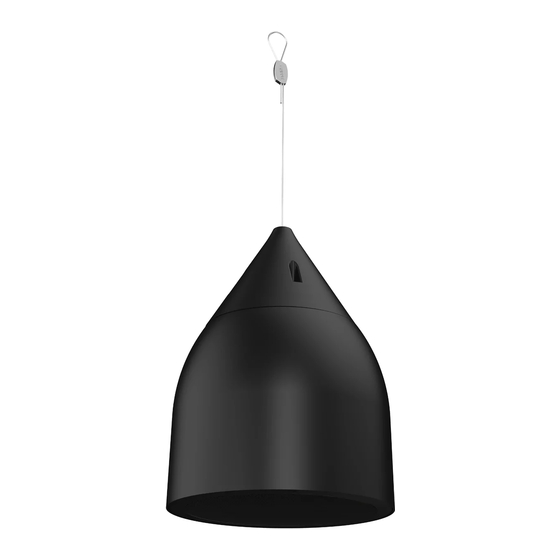
Hanging and Connecting the Loudspeaker
attach the #2 snap hooks to the suspension
Before inserting cables into the Gripples,
bracket atop the loudspeaker as shown in Figure
1. The main cable attaches to the center hole, and
the safety cable to either of the two outer holes
depending on the desired orientation. Make sure
the spring-loaded safety catch is positioned as
shown so it closes the loop to prevent accidental
detachment.
Note: Two 15-foot cable kits with Gripple Speed
Clamps are included; longer kits are available as
noted under the Optional Accessory listings herein.
Plain Cable Ends
Snap-Hook Ends
Thread the plain ends of the main cable and
safety cables up through the loudspeaker top
cover as shown in Figure 2.
For clarity in Figure 3 we are not showing
the loudspeaker or its cover, but these should
actually be in place per Figures 1 and 2. Now
Refer to Figure 3 for the following steps:
A. Beginning with the main support cable, insert
its plain end through the Gripple Speed Clamp.
Loop the cable over (or through) the ceiling
anchor point, thread the plain end back through
the Gripple and pull that cable end so that the
loop is hanging a little lower than where you
think you'll want the loudspeaker's attachment
point to be located.
B. Repeat this with the safety cable and
Gripple, looping the cable over or through an
independent attachment point.
C. Support the loudspeaker with your hand at the
desired height.
D. Pull the end of the main cable to take up any
slack.
E. Pull the end of the safety cable to take up any
slack. See Figure 6 for further height adjustments.
CAUTION: Do not pull the cables to
raise the loudspeaker.
Commercial Design Series - CP6
1
A
A
D
2
E
C
Two 2-pole Euroblock plugs are supplied with
the pendant loudspeaker and connect to a
socket on the top of the loudspeaker As shown
in Figure 4. Thread the audio cable down
through the loudspeaker top cover, and then
strip approximately
/
-inch (4mm) of insulation
1
4
from the cable's inner wire conductors. Insert
the wire ends into the Euroblock plug terminals
using the proper polarity (marked on plugs and
socket). If you daisy chain an audio cable to the
next loudspeaker, bring it through the top cover
as well and connect that second cable's wire pair
to another Euroblock plug. Secure all wires by
tightening the screws in the end of the Euroblock
plugs.
Installation Guide
3
Insert the Euroblock plug(s) into the socket atop
the loudspeaker as shown in Figure 5. No jumper
is necessary because the pairs of conductors in
the Euroblock socket are internally connected to
pass the signal through.
B
B
4
You can now fine-adjust the loudspeaker height
if necessary.
A. Lift and support the loudspeaker with one
hand and then,
B. Pull the main support cable end to take up the
slack. The split cover plug is not yet pressed into
position in this photo.
The Gripple Speed Clamp automatically tightens
from the cable tension when you allow the
loudspeaker to hang. Test by gradually lowering
your hand. Don't just "drop" the loudspeaker.
When you have the proper height set, then take
up the slack on the safety cable by pulling its free
end. Since the loudspeaker is already supported
by the main cable you don't have to hold it while
doing this.
5
6
Page 2