Andonstar AD206S Podręcznik użytkownika - Strona 9
Przeglądaj online lub pobierz pdf Podręcznik użytkownika dla Mikroskop Andonstar AD206S. Andonstar AD206S 11 stron.

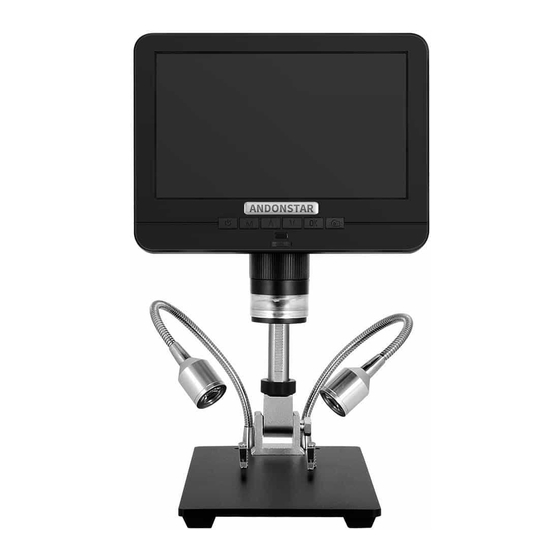
Obtain the clear image
Use the object distance adjustment knob of the column to
lift the microscope to the desired height. The shorter the
object distance, the greater the magnification. Be careful
not to let the bottom of the lens touch the observed object.
(When adjusting the height of the microscope, you can
properly adjust the positions of the two light sources on the
base to achieve better results.) Then gently turn the
focusing tube (Figure 8/⑨) to focus and obtain a clear
picture.
Take pictures and videos recording
By using a Micro SD card (not provided),
to a computer or other device .
Insert the Micro SD card in to the TF slot on top back of the monitor.
The side which has metal exposed should face down, refer to the figure 6 ) Push it in until you hear a
click. (If you don't push it in far enough,
The Mode button(number ② from the figure "Buttons",
between three modes: video standby (
mode,
there shows 'time' & '1080FHD'(white color font)at the top right of the display.
means how many time the rest storage of the card would allow you to record video.
means the video resolution is 1080FHD in this mode.
To record videos
Press the OK button(Figure 8/⑤) briefly to begin recording.
recording will appear at the top right. To stop recording,
on the remote has the same function.
To Capture pictures
There are two ways to capture pictures. In the recording video mode,
button(Figure 8/⑥)(Marked with a camera) briefly to capture an image. In the still image mode,
'OK' button to capture an image. The picture capture button and 'OK' button on the remote has the
same function.
Note: You can't take pictures or videos in Preview mode
Reviewing and Managing Images
To review and manage images on the display,
mode. Use the Up and Down buttons to cycle through the pictures and videos.
you can save images and videos to review later or export
it will be ejected. )
marked with an "M") can be used to cycle
),
still image (
),
use the Mode button to select review
7
(Figure11 Schematic diagram of focusing)
(be careful with the direction.
and review (
The elapsed time(red color font) in the
hit the OK button again. The OK button
press the Picture Capture
).
In video standby
The 'time'
The'1080FHD'
press
