Electrolux RH30WC55GS Instrukcja instalacji, użytkowania i konserwacji - Strona 11

Przeglądaj online lub pobierz pdf Instrukcja instalacji, użytkowania i konserwacji dla Okap wentylacyjny Electrolux RH30WC55GS. Electrolux RH30WC55GS 20 stron. 30” et 36” hotte aspirante
Również dla Electrolux RH30WC55GS: Katalog części fabrycznych (4 strony), Broszura i specyfikacje (2 strony), Instrukcja instalacji, użytkowania i konserwacji (21 strony), Instrukcja instalacji, użytkowania i konserwacji (20 strony), Instrukcja instalacji, użytkowania i konserwacji (20 strony), (Angielski) Instrukcja instalacji, użytkowania i konserwacji (25 strony), (Francuski) Podręcznik instalacji, użytkowania i konserwacji (21 strony)
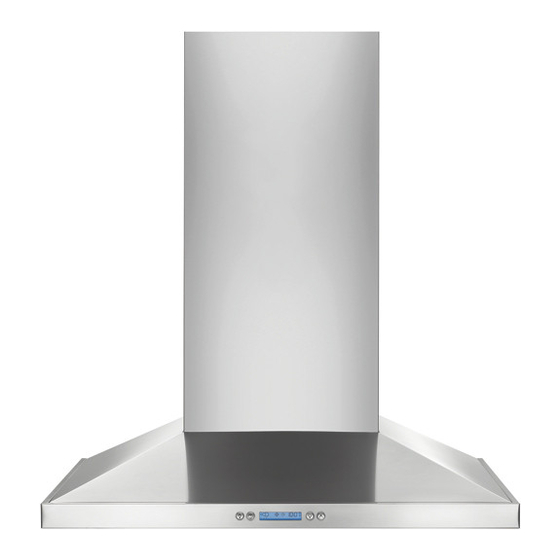
Electrolux RH30WC55GS Instrukcja instalacji, użytkowania i konserwacji
• Remove the hood.
• Drive "lower" wood screws, by hand. Remove
screws.
• Mount the hood onto the "upper" screws.
• Drive and tighten the "upper" wood screws, by
hand.
• Drive and tighten the "lower" wood screws, by
hand.

Connecting the ductwork

Connecting the ductwork
• Install ductwork, making connections in the
direction of airflow as illustrated.
• Push duct over the exhaust outlet.
• Wrap all duct joints and the flange connections
with duct tape for an airtight seal.
• Make the same connection in the wall or ceiling
vent exit.
Duct tape
over seam
Air deflector installation
(Recirculating accessories)
(Recir
(Recir
(Recir
(Recir
• Assemble the air deflector with the duct cover
• Measure from the bottom of the air deflector to
Airflow
• Cut the duct at the measured size.
• Uninstall the air deflector removing the 4
• Slip the duct onto the bottom of the deflector.
• Place the assembled deflector and duct over the
• Assemble the air deflector to the duct cover
Installing the hood
culating accessories)
bracket with 4 assembly screws provided as
shown.
the bottom of the hood outlet, as shown.
Dimension to measure
assembly screws.
exhaust outlet from the hood.
bracket with 4 assembly screws provided as
shown.
11
11
11
11
11