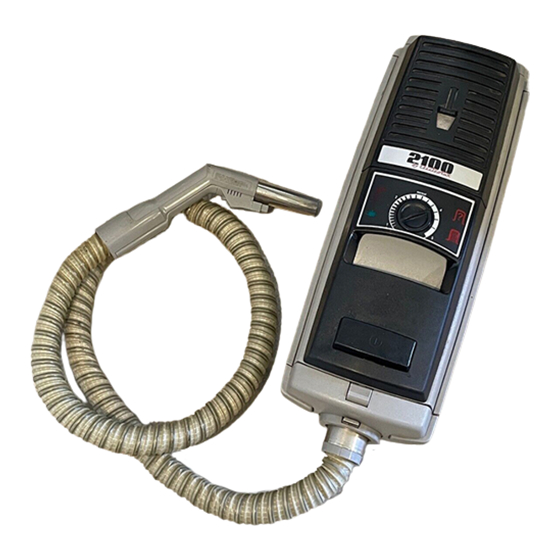
Electrolux 2100 Instrukcja obsługi - Strona 6
Przeglądaj online lub pobierz pdf Instrukcja obsługi dla Odkurzacz Electrolux 2100. Electrolux 2100 13 stron.

- 1. Important Safety Instructions
- 2. Features
- 3. Vacuum Cleaner
- 4. Wand and Hose Assembly
- 5. Overheating Protection
- 6. Information Panel
- 7. Use of Standard Attachments
- 8. Operation
- 9. Using the Power Nozzle
- 10. Maintenance
- 11. To Replace Air Filters
- 12. To Clear Clogged Hose
- 13. Limited 5 Year Warranty
Operation
To connect the power cord, pull the cord out to the length required (Fig. G). A yellow band on the power cord indicates
the limit of extension. Do not pull the cord beyond that point. Connect the plug into wall outlet. The green control light
will illuminate to indicate that power is available. The cordwinder automatically rewinds the cord when given a light
tug. Holding onto the plug, feed the power cord slowly into the unit; do not allow the cord to whip into cordwinder.
To start the cleaner, gently press the toe switch on top of the unit (Fig. H). To stop the machine, press the toe switch
again. Always switch the cleaner off before disconnecting power cord.
Fig. G
Adjust the control dial for type of cleaning required (Fig. I). For normal conditions the dial should be set to NORMAL.
When vacuuming fine dust, set the dial to 1. When vacuuming larger particles, set the dial to 5. Open the suction
control to reduce suction for gentle cleaning of delicate fabrics, lightweight rugs, lamps shades or net curtains. The
suction control should always be open when using the crevice tool (Fig. J).
Fig. I
Use of Standard Attachments
Fig. K
Fig. M
Attach the combination tool to handgrip to clean deeply into all
types of upholstered furniture and fabrics (Fig. K). Adjust wings on
nozzle to match furniture contours (Fig. L). The combination tool
is ideal for cleaning automobile upholstery, blankets, pillows,
mattresses, and clothing. For curtains and draperies, reduce the
suction strength and attach the combination tool to the wand for
better reach.
Reverse the combination tool on wand to clean baseboards without
bending or stretching. With the round brush on the end of the
handgrip, remove dust from delicate articles or carved furniture
contours (Fig. M).
Use the crevice tool on the end of the handgrip to get
into crevices of upholstered furniture and other hard-to-reach
areas. Using the nozzle on the end of the wand, clean hot air regis-
ters without kneeling or stooping. Remember to open the suction
control knob when using the crevice tool (Fig. N).
Fig. H
Fig. J
Fig. L
Fig. N
