Bose FreeSpace FS4CE Instrukcja instalacji - Strona 3
Przeglądaj online lub pobierz pdf Instrukcja instalacji dla Głośniki Bose FreeSpace FS4CE. Bose FreeSpace FS4CE 3 stron. Adjustable tile bridge
Również dla Bose FreeSpace FS4CE: Instrukcja instalacji (10 strony), Instrukcja instalacji (28 strony)

PRO.BOSE.COM
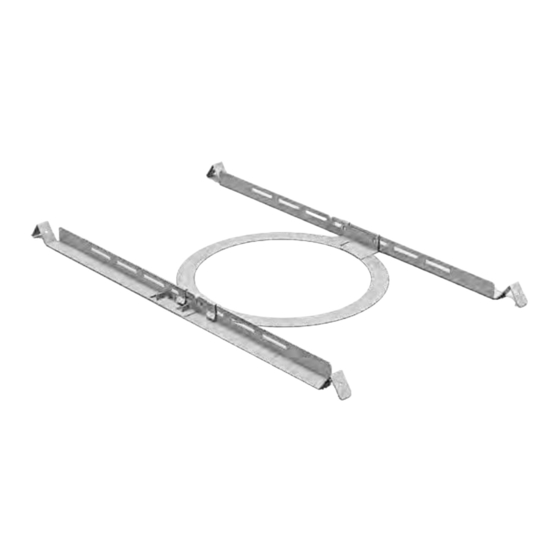
Assembling the Tile Bridge
1 .
Align the rails and insert the tabs into the slots .
2 .
Pull the rails outward to secure them together .
Note: If you are installing in a hard ceiling, assemble the tile bridge after inserting the rails and ring through the hole
cutout.
3 .
Align the rails parallel to each other and press the tile bridge ring down to secure the ring to the rails .
q
Installing a Tile Bridge in Acoustic Ceiling Tile
Cutting the Ceiling Tile
1 .
Remove the tile and use the template included
with your loudspeaker to trace a loudspeaker
hole onto the tile . To center the template on
the tile, draw an X by connecting the corners
diagonally and center the template using the
crossing point .
2 .
Cut a hole into the tile .
Installing the Tile Bridge
1 .
Place the assembled tile bridge across the
ceiling grid . If necessary, adjust the tile bridge
so the rails rest on the ceiling grid .
2 .
Replace the tile in the ceiling .
For instructions on loudspeaker installation, see
the Mounting the Loudspeaker section in the
appropriate loudspeaker installation guide .
Installing a Tile Bridge in Hard Ceiling (Existing Construction)
Cutting the Ceiling
1 .
Use the template to trace a hole onto the
ceiling .
2 .
Cut a hole into the ceiling .
Installing the Tile Bridge
1 .
Insert the tile bridge rails and ring through
the hole and place the rails parallel to each
other across the ceiling grid or ceiling
furring .
2 .
Assemble the tile bridge .
For instructions on loudspeaker installation, see
the Mounting the Loudspeaker section in the
appropriate loudspeaker installation guide .
Installation Guide • FreeSpace Adjustable Tile Bridge
w
q
q
q
q
e
w
w
w
w
Installation
English • 3
