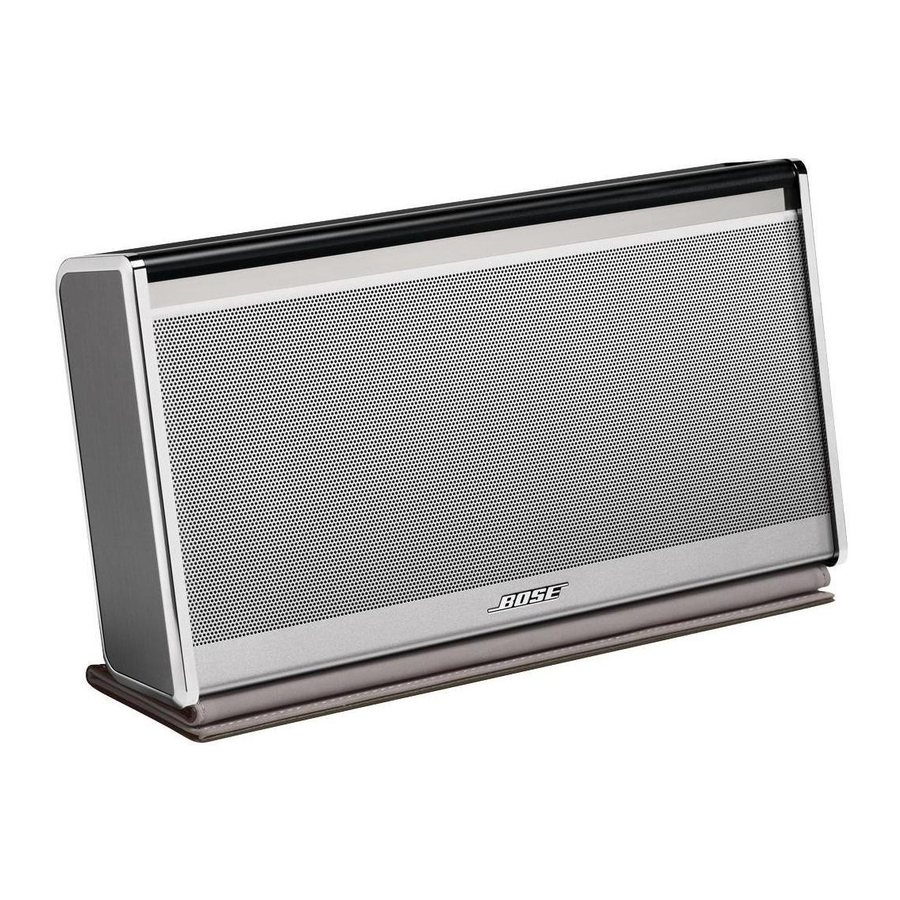
Bose SoundLink Wireless Music System Instrukcja obsługi - Strona 13
Przeglądaj online lub pobierz pdf Instrukcja obsługi dla Słuchawki Bose SoundLink Wireless Music System. Bose SoundLink Wireless Music System 21 stron. Car charger
Również dla Bose SoundLink Wireless Music System: Instrukcja obsługi (32 strony), Podręcznik szybkiej konfiguracji (2 strony), Instrukcja obsługi (24 strony), Instrukcja wymiany (2 strony), Instrukcja obsługi (15 strony), Instrukcja obsługi (12 strony), Instrukcja obsługi (24 strony), Instrukcja obsługi (33 strony), Instrukcja obsługi (24 strony), Instrukcja obsługi (40 strony), Instrukcja obsługi (22 strony), Instrukcja obsługi (16 strony), Instrukcja obsługi (18 strony), Instrukcja obsługi (24 strony), Skrócona instrukcja obsługi (2 strony), Instrukcja obsługi (22 strony), Skrócona instrukcja obsługi (2 strony), Instrukcja obsługi (16 strony), Instrukcja obsługi (16 strony), Instrukcja wymiany baterii (2 strony), Podręcznik użytkownika (2 strony), Skrócona instrukcja obsługi (2 strony), Instrukcja obsługi (19 strony), Instrukcja obsługi (31 strony), Jak (5 strony), Instrukcja obsługi (2 strony), (Angielski) Podręcznik użytkownika (26 strony), (Japoński) Instrukcja obsługi (3 strony)

