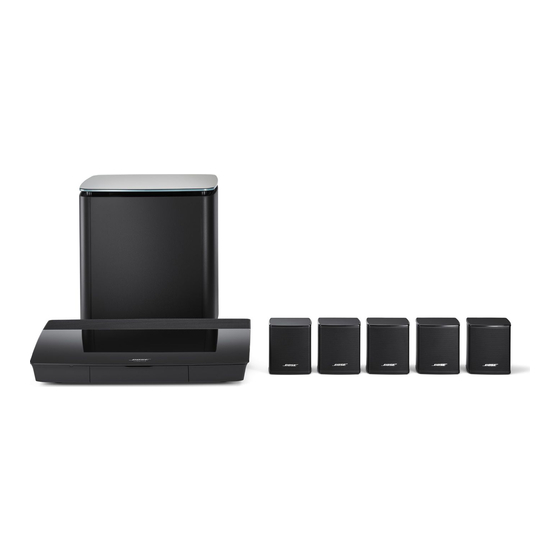
Bose LIFESTYLE 550 Instrukcja serwisowa - Strona 8
Przeglądaj online lub pobierz pdf Instrukcja serwisowa dla System kina domowego Bose LIFESTYLE 550. Bose LIFESTYLE 550 32 stron. Am/fm stereo receiver
Również dla Bose LIFESTYLE 550: Instrukcja obsługi (17 strony), Instrukcja obsługi (44 strony)

DISASSEMBLY/ASSEMBLY PROCEDURES
Note: Numbers in parentheses corre-
spond to the callouts in Figure 8.
1. Top Cover Removal
1.1 Remove the 4 screws (A-14) located
on each side of the unit.
1.2 Lift the top cover (A-2) off of the unit.
2. Top Cover Replacement
2.1 Place the top cover onto the top of the
unit.
2.2 Secure the top cover to the unit.
3. Bottom Cover Removal
3.1 Remove the 5 screws (L-13) that
secure the bottom cover (A-3) to the unit.
3.2 Remove bottom cover.
4. Bottom Cover Replacement
4.1 Place the bottom cover onto the unit.
4.2 Secure the bottom cover to the unit.
5. Front Panel Removal
5.1 Perform procedures 1 and 3.
5.2 Remove the volume, tuning, and slide
pot knobs.
5.3 Locate and remove the 3 screws (L-3)
that secure the front panel (A-1) to the top
front of the unit.
5.4 Unclip the 4 plastic clips located at the
bottom of the front panel and remove the
panel from the unit.
6. Front Panel Replacement
6.1 Place the front panel onto the unit and
clip the bottom of the front panel into place.
6.2 Secure the top of the front panel and
replace the knobs.
®
7. 901
EQ PC Board Removal
Note: There is no callout on Figure 8. for
the EQ board. The 901 EQ board is located
under the dial lamp and behind the slide
pots.
7.1 Perform procedures 1 and 3.
7.2 Using a pair of pliers, unclip the three
plastic standoffs holding the board in place.
8. 901 EQ PC Board Replacement
8.1 Align the standoffs over the holes in
the main PC board. Push the 901 EQ
board into place.
9. Slide Pot Removal
9.1 Perform procedures 5 and 7.
9.2 Unscrew the two screws (L-12) that
secure each of the slide pots to the front of
the unit.
9.3 Remove the slide pots through the
bottom of the unit.
10. Slide Pot Replacement
10.1 Guide the slide pot assembly through
the bottom of the unit and place it into the
front of the unit.
10.2 Secure the slide pots to the unit.
8
