Bose Companion 3 Series II Instrukcja serwisowa - Strona 3

Przeglądaj online lub pobierz pdf Instrukcja serwisowa dla System stereo Bose Companion 3 Series II. Bose Companion 3 Series II 36 stron. Multimedia speaker system
Również dla Bose Companion 3 Series II: Instrukcja obsługi (40 strony), Instrukcja obsługi (40 strony), Instrukcja obsługi (22 strony), Instrukcja obsługi (10 strony), Instrukcja obsługi (20 strony), Instrukcja obsługi (26 strony), Podręcznik szybkiej konfiguracji (2 strony), Podręcznik szybkiej konfiguracji (2 strony), Szczegółowa instrukcja montażu (2 strony), Instrukcja instalacji (20 strony), Specyfikacje (6 strony), Broszura i specyfikacje (4 strony), Instrukcja obsługi (19 strony), Instrukcja serwisowa (16 strony)
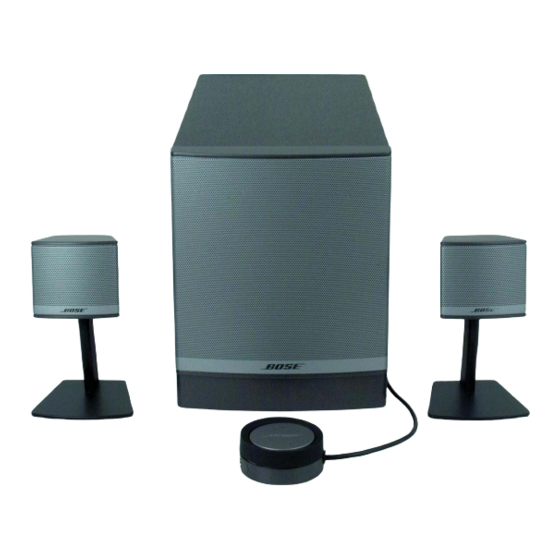
Bose Companion 3 Series II Instrukcja serwisowa
1. Parts that have special safety characteristics are identified by the
or by special notes on the parts list. Use only replacement parts that have critical characteristics
recommended by the manufacturer.
2. Make leakage current or resistance measurements to determine that exposed parts are acceptably
insulated from the supply circuit before returning the unit to the customer. Use the following checks to
perform these measurements:
A. Leakage Current Hot Check- With the unit completely reassembled, plug the AC line cord directly
into a 120V AC outlet. (Do not use an isolation transformer during this test). Use a leakage current
tester or a metering system that complies with the American National Standards Institute (ANSI)
C101.1 "Leakage Current for Appliances" and the Underwriters Laboratories (UL) 6500/IEC 60056
paragraph 9.1.1. With the unit AC switch first in the ON position and then in the OFF position, mea-
sure from a known earth ground (metal waterpipe, conduit, etc.) to all exposed metal parts of the unit
(antennas, handle bracket, metal cabinet, screwheads, metallic overlays, control shafts, etc.) espe-
cially any exposed metal parts that offer an electrical return path to the chassis. Any current measured
must not exceed 0.5 milliamp. Reverse the unit power cord plug in the AC outlet and repeat the test.
ANY MEASUREMENTS NOT WITHIN THE LIMITS SPECIFIED HEREIN INDICATE A POTENTIAL
SHOCK HAZARD THAT MUST BE ELIMINATED BEFORE RETURNING THE UNIT TO THE CUS-
TOMER.
B. Insulation Resistance Test Cold Check- (1) Unplug the power supply and connect a jumper wire
between the two prongs of the plug. (2) Turn on the power switch of the unit. (3) Measure the resis-
tance with an ohmmeter between the jumpered AC plug and each exposed metallic cabinet part on
the unit. When testing 3 wire products, the resistance measured to the product enclosure should be
between 2 and infinite MOhms. Also, the resistance measured to exposed input/output connectors
should be between 4 and infinite MOhms. When testing 2 wire products, the resistance measured to
exposed input/output connectors should be between 4 and infinite MOhms. If it is not within the limits
specified, there is the possibility of a shock hazard, and the unit must be repaired and rechecked
before it is returned to the customer.
Electrostatic Discharge Sensitive (ESDS)
This unit contains ESDS devices. We recommend the following precautions when repairing, replacing
or transporting ESDS devices:
Perform work at an electrically grounded work station.
Wear wrist straps that connect to the station or heel straps that connect to conductive floor mats.
Avoid touching the leads or contacts of ESDS devices or PC boards even if properly grounded.
Handle boards by the edges only.
Transport or store ESDS devices in ESD protective bags, bins, or totes. Do not insert unprotected
devices into materials such as plastic, polystyrene foam, clear plastic bags, bubble wrap or plastic
trays.

Safety Information

Device Handling
3
symbol on the schematics