Bose Lifestyle Music Center Instrukcja obsługi - Strona 35

Przeglądaj online lub pobierz pdf Instrukcja obsługi dla System stereo Bose Lifestyle Music Center. Bose Lifestyle Music Center 42 stron. Home entertainment systems with vs-2 video enhancer
Również dla Bose Lifestyle Music Center: Instrukcja obsługi (48 strony), Instrukcja obsługi (48 strony), Instrukcja instalacji (38 strony), Instrukcja obsługi (19 strony), Instrukcja obsługi (29 strony), Instrukcja instalacji (44 strony), Instrukcja obsługi (42 strony), Informacje o konfiguracji (1 strony), Instrukcja obsługi (26 strony), Instrukcje rozbudowy (38 strony), Instrukcja obsługi (48 strony), Instrukcja obsługi (46 strony), Instrukcja obsługi (12 strony), Skrócona instrukcja obsługi (8 strony), Instrukcja instalacji (30 strony), Instrukcja instalacji (39 strony)
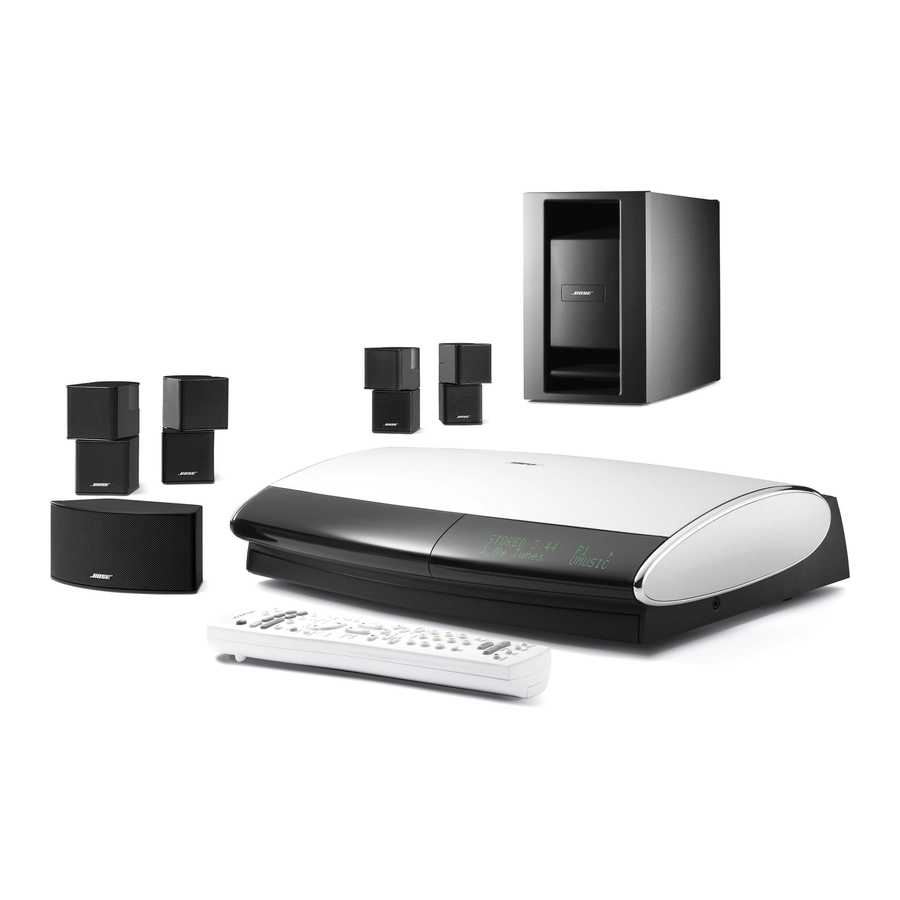
Bose Lifestyle Music Center Instrukcja obsługi
Setting
up a second
listening
zone
Figure
15
Miniature zone code
switches
Your Lifestyle ® home entertainment
system can direct sound from one or two sound sources
(such as CD, AM/FM tuner, TAPE, or AUX) to two different listening zones at the same time.
What
is a zone?
Each listening area, whether a room or a group of rooms (including outdoor areas), is called a
zone. Your primary listening area is set up as zone 1.
What
do I need
for setting
up a second
zone?
• A Bose ®powered speaker system that is compatible with your home entertainment
system.
An existing stereo system can also be connected (special adapter required).
• The appropriate Lifestyle ®system cable to connect the zone 2 speaker system to the
SPEAKER ZONES 2 connector on the rear panel of the media center.
• A second Lifestyle ®system remote control to operate the zone 2 sound.
See your dealer or contact Bose for information on obtaining additional powered speakers,
remote controls, cables, and adapters for connecting
additional equipment.
How
do I set
up a second
remote
to control
zone
22
1.
Remove the battery compartment
cover from the back side of the zone 2 remote.
2.
Locate miniature switches 5 and 6 (Figure 15) and set them according to the table.
3.
Make sure the house code switches (1,2, 3, and 4) match those on your first remote.
4.
Re-install the battery compartment
cover back.
Zone code switches (5 & 6)
ZoneC°ntr°lledl Zone
:own
Zone 2
Up
6
Up
Down
33