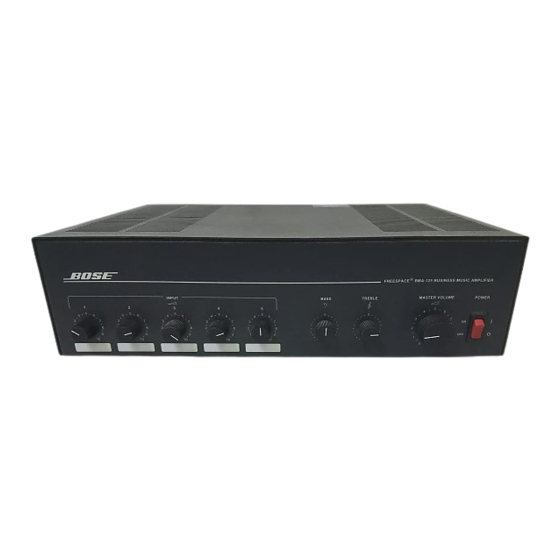
Bose FREESPACE BMA-125 Instrukcja serwisowa - Strona 10
Przeglądaj online lub pobierz pdf Instrukcja serwisowa dla Wzmacniacz Bose FREESPACE BMA-125. Bose FREESPACE BMA-125 49 stron. Business music amplifier 120/230v

230V DISASSEMBLY/ASSEMBLY PROCEDURES
1. Top Cover Removal
1.1 Remove the fourteen screws that
secure the top cover to the chassis. There
are seven on each side.
1.2 Slide the top cover toward the rear of
the unit and then lift it up.
2. Top Cover Replacement
2.1 Lower the top cover onto the chassis
and slide it toward the front of the unit.
2.2 Replace the fourteen screws that
secure the top cover to the chassis. There
are seven screws on each side.
3. Input Module Removal
3.1 Remove the four screws that secure
the input module to the chassis.
3.2 Remove the input connector from the
input PCB.
3.3 Slide the input module out from the
rear of the chassis.
4. Input Module Replacement
4.1 Slide the input module into the rear of
the chassis so that the labels are aligned
with the labels on the chassis.
4.2 Replace the four screws that secure
the input module to the chassis.
4.3 Attach the input connector to the input
PCB.
5. Tone/Volume/Equalizer PCB Removal
5.1 Remove the input five, bass and treble
control knobs by pulling them straight away
from the unit.
5.2 Remove the three nuts that secure the
input five, bass and treble controls to the
chassis.
5.3 Remove the two nuts that secure the
PCB shield to the chassis.
5.4 Slide the PCB towards the rear of the
unit until the potentiometer shafts clear the
holes in the chassis.
5.5 Lift the PCB up.
5.6 Remove the four screws that secure
the shield to the PCB.
5.7 Remove the connectors from the PCB.
6. Tone/Volume/Equalizer PCB Replace-
ment
6.1 Attach the connectors to the PCB.
6.2 Replace the four screws that secure
the shield to the PCB.
6.3 Lower the PCB into the chassis and
slide it towards the front of the unit until the
shafts protrude out the front of the chassis.
6.4 Replace the three nuts that secure the
input five, bass and treble control pots to
the chassis.
6.5 Replace the control shaft knobs by
pushing them on.
6.6 Replace the two nuts that secure the
PCB shield to the chassis.
7. Input 1, 2, 3, 4 and Master Volume
Control Removal
7.1 Pull on the control knob to remove it.
7.2 Remove the nut that secures the pot's
shaft to the chassis.
7.3 Slide the pot out of the hole in the
chassis.
7.4 Remove all wires from the pot.
Note: Make note of the wiring configura-
tion.
10
