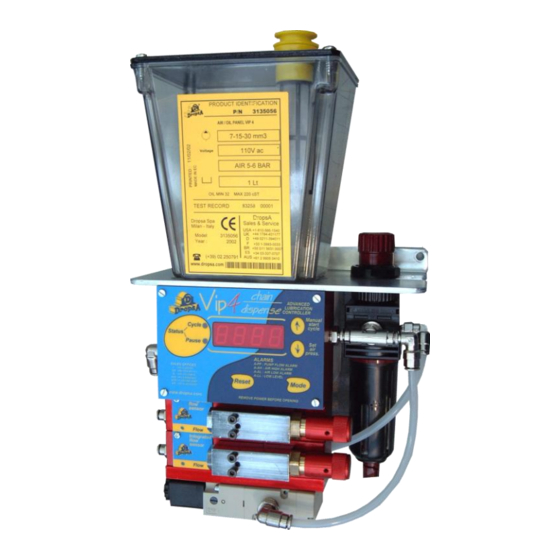
DROPSA 3135122 Instrukcja obsługi i konserwacji - Strona 6
Przeglądaj online lub pobierz pdf Instrukcja obsługi i konserwacji dla Systemy smarowania DROPSA 3135122. DROPSA 3135122 14 stron. Chain lubrication & dispensing

7 OPERATION
7.1 COMMISIONING THE Vip4chain
Before using the Vip4chain, the following check list must be observed:
The Unit has not sustained any damage
Electrical and Pneumatic connections are correct
Purge Air from the micropumps by loosening the bleed screw on the micropumps using a 2mm allen key.
Once oil is present, tighten the screw
Power on the unit
Set the operating parameters as described in this manual.
To help purge the air from the unit, set the pumps to maximum output by screwing the regulating dial
clockwise.
7.2 ZERO-OUTPUT:
If you want to temporarily set zero output on a pump module, you can turn the regulating dial anti clockwise until it
stops. Note that if you have sensing enable on the mixing base, you will obtain a pump fault alarm
7.3 SETTING THE OIL OUTPUT ON THE MICROPUMPS
Pump output is set using the red regulating dial.
Turn the dial anti clockwise until it stops. This equals 0 mm
2.5 turns to achieve 10mm
output by 5mm3, to a maximum of 30mm
OUTPUT (mm³ / colpo)
0= Zero Output
7.4 PROGRAMMING THE CONTROLLER
The controller can operate in two modes :
CHAIN MODE: In this mode, the unit will cycle each time an impulse is received from the remote switch. You can
program the number of cycles in order to lubricate a chain, and then the unit will go into standby mode. You can set
how many impulses from the remote switch have to be detected before returning to cycle mode.
DISPENSE MODE: In this mode, when the unit cycles, it will activate the pumps for a set number of times with an
interval between each activation. Following the dispensing cycle the unit goes into standby mode. As with Chain
mode, it will count a number of impulses from a remote switch (which can even be a single impulse) before it
activates the dispensing cycle again.
The user can set the on time and off time of the pump activation.
Air Pressure regulation.
To set the air mixing pressure hold the down key
on the front panel display. Use the regulator to set the desired air pressure.
Normal Operation
When the unit is powered on, it will automatically start in a standby cycle. During the standby cycle the front panel
display will indicate how many more impulses the unit is expecting before commencing a lubrication or dispensing
cycle.
By Pressing the UP Key
Alarm
In the event of an failure or alarm, the unit will display an alarm code. This can be cleared by pressing
the
button. See the Troubleshooting section of this manual.
Reset
3
(the output sensor will read this output). Each complete turn will now increase the pump
3
. (See following table)
30
25
20
15
10
5
, you can skip the standby cycle and activate the lubrication cycle immediately.
3
(pump on zero-output as above). Turn the regulating dial
Maximum anti-clockwise
. The air solenoid will open and the air pressure will be displayed
TURNS
6.5
5.5
4.5
3.5
2.5
1.5
6
