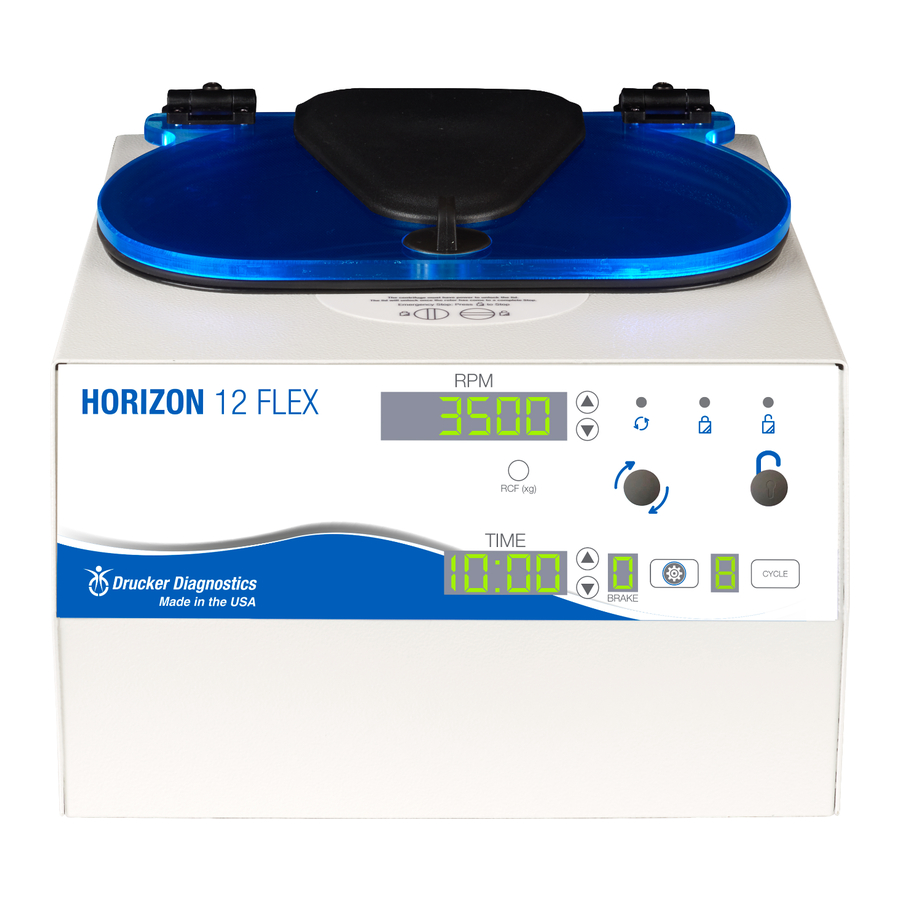
Drucker Diagnostics DASH Flex Series Instrukcja obsługi - Strona 15
Przeglądaj online lub pobierz pdf Instrukcja obsługi dla Sprzęt laboratoryjny Drucker Diagnostics DASH Flex Series. Drucker Diagnostics DASH Flex Series 18 stron.

T
ROUBLESHOOTING
NOTE: The latch must be turned completely clockwise to its stop position for the centrifuge to operate.
The centrifuge does not run
The rotor does not spin freely
The centrifuge makes a rattling noise
when running
Excessive noise or vibration when the
centrifuge is running
"Abort" is displayed on the top screen
The
centrifuge
stops
continuously
The centrifuge is stuck on one of the
settings
Only a few cycles can be accessed
The cycle time and speed are not set to
the desired value
Drucker Diagnostics – Customer Service: +1-814-692-7661 – [email protected] | Page 11
o Verify that the centrifuge is powered. One of the LED lights
should be on.
o If "Lid not closed" message is displayed, make sure the lid latch
is turned completely clockwise to its stop position.
o If the centrifuge still does not run, contact Customer Service.
o
Make sure nothing has fallen into the rotor chamber,
following the procedure above.
o
If nothing obstructs the rotor, the rotor may be damaged.
Contact Customer Service for further assistance.
o
Stop the centrifuge. Open the lid.
o
Wearing PPE, remove tubes and tube holders/buckets and
look for fallen objects or debris. Carefully reach inside the
rotor chamber with a tool to remove them.
o
Inspect the rotor, tube holders or buckets for damage.
o
If the tube holders or buckets have any damage, even slight,
safely dispose of them and replace them.
o
If the rotor appears damaged, contact Customer Service for
further assistance.
o Verify that all four centrifuge feet are properly seated on a flat
surface.
o Ensure that the load is balanced according to instructions in the
"Balancing Loads" section of this manual.
o Make sure that nothing has fallen into the rotor chamber.
The centrifugation cycle has been interrupted.
and
beeps
The load is not balanced. Press the UNLOCK button, open the lid,
and balance the load as recommended elsewhere in this manual.
Cycle selection is locked. Press the UNLOCK button for 5 seconds.
The Preset Lock is active. To deactivate it, press the UNLOCK
button for 5 seconds, until you hear 2 beeps, then again until the
next 2 beeps. All cycles can now be accessed and/or amended.
Check the setting by following the instructions in the section on
Setting or Modifying a Saved Cycle. If the preset is not the desired
length, follow the procedure on the same page to change the
preset time.
