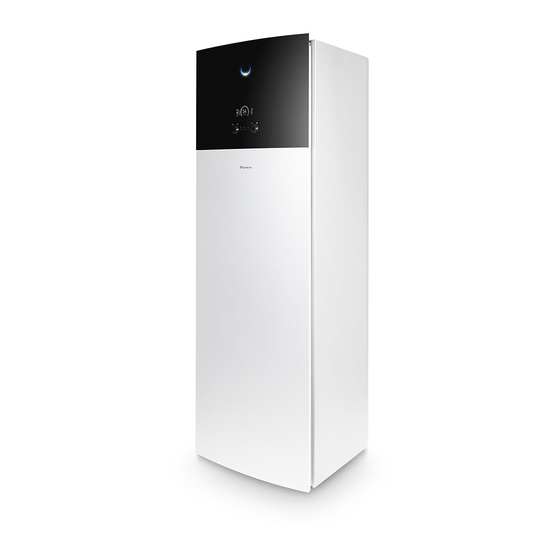
Daikin ALTHERMA Instrukcja instalacji - Strona 5
Przeglądaj online lub pobierz pdf Instrukcja instalacji dla Kontroler Daikin ALTHERMA. Daikin ALTHERMA 9 stron. Low temperature split, eabh16da6v, eabh16da9w, eabx16da6v, eabx16da9w, eavh16s18da6v(g), eavh16s23da6v(g), eavh16s18da9w(g), eavh16s23da9w(g), eavx16s18da6v (g), eavx16s23da6v(g), eavx16s18da9w(g), eavx16s23da9w(g)
Również dla Daikin ALTHERMA: Skrócona instrukcja obsługi (4 strony), Podręcznik użytkownika (5 strony), Podręcznik użytkownika (20 strony)

- 1. Installation Manual
- 2. About the Box
- 3. About the Documentation
- 4. Mounting the Outdoor Unit
- 5. To Prepare the Installation Structure
- 6. To Install the Outdoor Unit
- 7. To Prepare Drain Work
- 8. Outdoor Unit
- 9. Charging Refrigerant
- 10. Starting up the Outdoor Unit
- 11. Connecting the Electrical Wiring
- 12. Finishing the Outdoor Unit Installation
- 13. About Electrical Compliance
- 14. To Finish the Outdoor Unit Installation
3.2.2 To prepare drain work
Make sure that condensation water can be evacuated properly.
NOTICE
If the drain holes of the outdoor unit are blocked up, provide
space of at least 300 mm below the outdoor unit.
An additional drain pan kit (EKDP008CA) can be used to gather the
drain water. The drain pan kit consists of:
a Drain pan
b U-beams
EVLQ05+08CAV3
Daikin Altherma hybrid heat pump – outdoor unit
4P344906-1 – 2013.02
a
b
3.2.3 To install the outdoor unit
CAUTION
Do NOT remove the protective cardboard before the unit is
installed properly.
1
Lift the outdoor unit as described in To remove the accessories
from the outdoor unit.
2
Install the outdoor unit as follows:
a
1
a Air outlet
NOTICE
The pedestal MUST be aligned with the backside of the
U-beam.
3
Remove the protective cardboard and instruction sheet.
b
a
a Protective cardboard
b Instruction sheet
3 Installation
a
2
2x
Installation manual
3
